Are you looking to set up a website on Blogger and wondering how to buy a domain from Namecheap and link it to your site? Look no further! In this guide, we will walk you through the process of purchasing a domain from Namecheap and setting it up with your Blogger site in 2023.
Namecheap is a popular domain registrar known for its affordable prices and user-friendly interface. It offers a wide range of domain extensions, making it easy to find the perfect domain for your website. On the other hand, Blogger is a free blogging platform owned by Google that allows you to create and host a blog without any technical knowledge.
So, let’s get started on how to buy a domain from Namecheap and set it up with your Blogger site:
Step 1: Choose a Domain Name
The first step is to choose a domain name for your website. Your domain name is your online identity, so make sure it is relevant to your content and easy to remember. Use Google Keyword Planner to research keywords related to your niche and incorporate them into your domain name for better SEO.
Step 2: Purchase a Domain from Namecheap
Once you have chosen a domain name, head over to the Namecheap website and search for the availability of your desired domain. If it is available, add it to your cart and proceed to checkout. Namecheap offers various payment options, so choose the one that suits you best. After completing the purchase, you will receive a confirmation email with details of your domain.
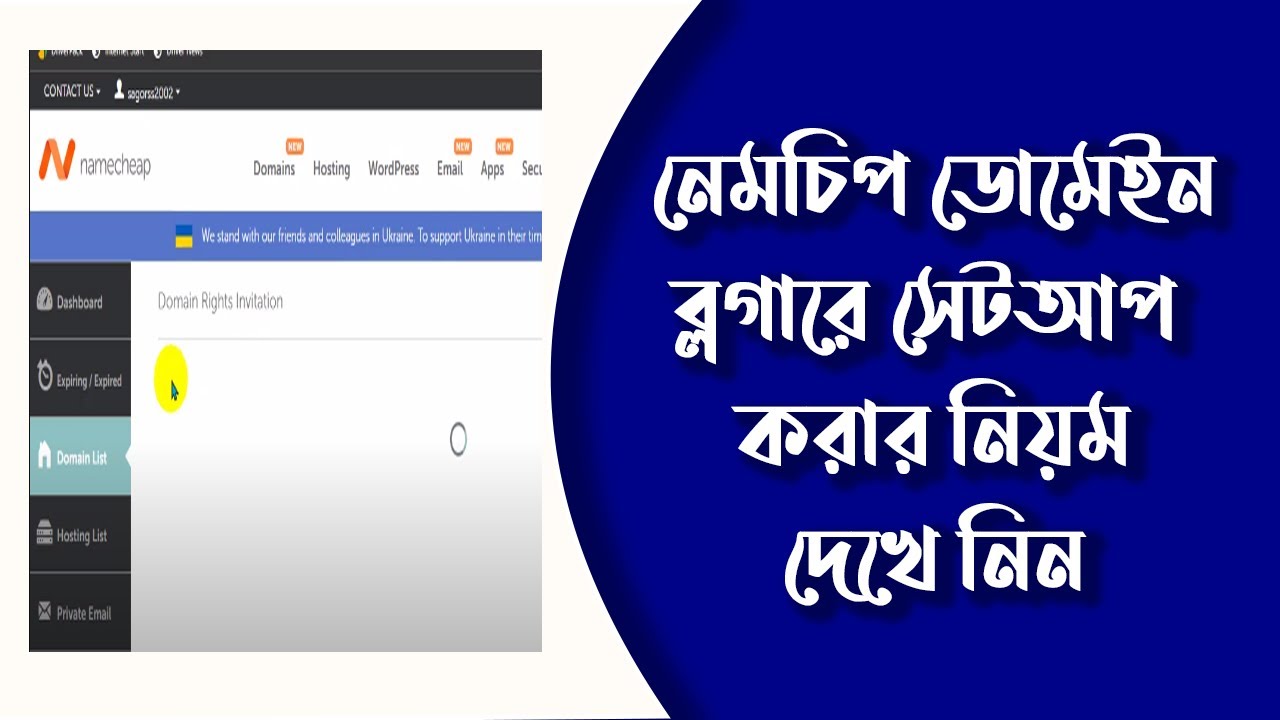
Step 3: Access Your Namecheap Account
Log in to your Namecheap account using the credentials provided during the purchase. Navigate to the domain management section where you can configure your domain settings.
Step 4: Configure DNS Settings
To link your domain to your Blogger site, you need to configure the DNS settings. Locate the DNS settings in your Namecheap account and add the custom domain provided by Blogger. Save the changes and allow some time for the settings to propagate.
Step 5: Set Up Custom Domain in Blogger
Now, head over to your Blogger dashboard and navigate to the settings section. Look for the custom domain option and click on “Set up a third-party URL for your blog.” Enter your custom domain (e.g., www.yourdomain.com) and save the settings.
Step 6: Verify Domain Ownership
To complete the setup, you need to verify domain ownership. Blogger will provide you with a set of instructions on how to verify your domain using a C


