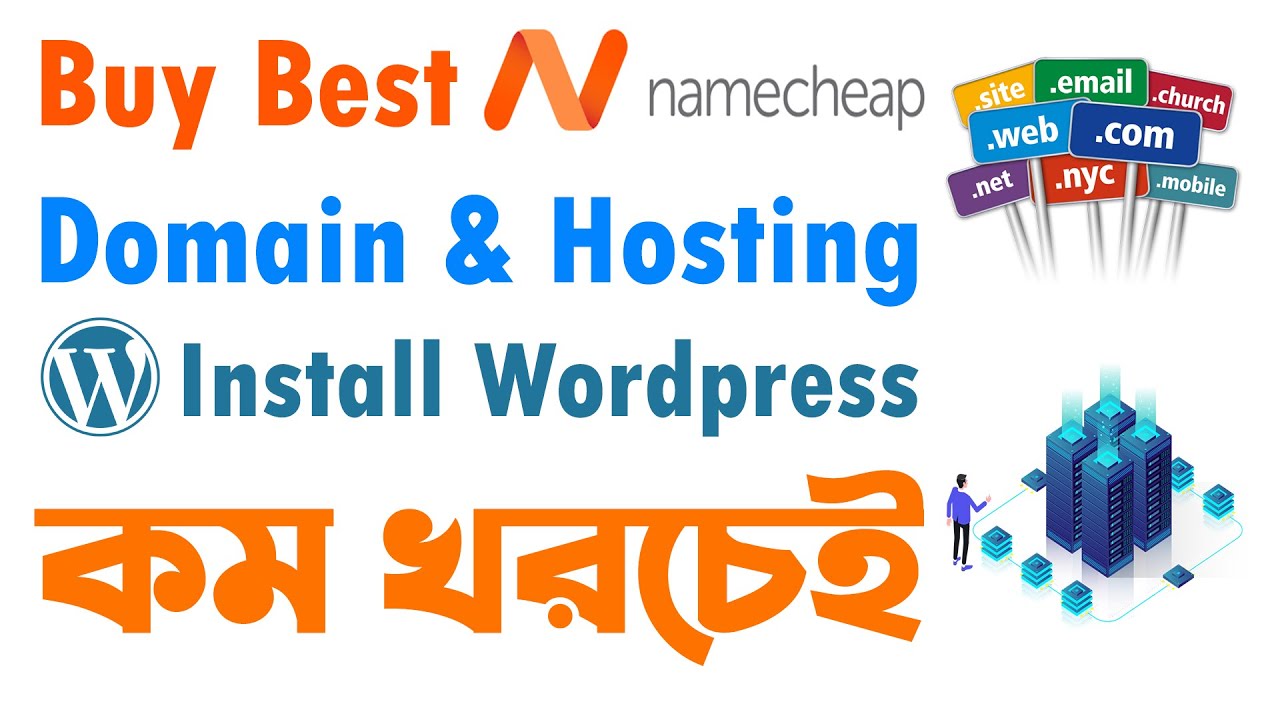
Are you looking to start your own website but not sure where to begin? In this tutorial, I will guide you through the process of buying a domain and hosting from Namecheap and installing WordPress in cPanel. By the end of this article, you will have your very own website up and running.
Namecheap is a popular domain registrar and web hosting provider known for its affordable prices and user-friendly interface. WordPress, on the other hand, is a powerful content management system that allows you to create and manage your website with ease. By combining Namecheap’s services with WordPress, you can create a professional-looking website without any technical skills.
Let’s get started!
Step 1: Choose a Domain Name
The first step in creating a website is to choose a domain name. Your domain name is your website’s address on the internet, so it’s important to choose one that is easy to remember and reflects your brand. To check the availability of a domain name, visit Namecheap’s website and enter your desired domain name in the search bar. Namecheap will show you if the domain name is available and suggest alternative options if it’s already taken.
Step 2: Purchase a Domain Name
Once you have chosen a domain name, it’s time to purchase it. Add the domain name to your cart and proceed to checkout. Namecheap offers various payment options, including credit card, PayPal, and cryptocurrency. Once you have completed the payment process, the domain name will be registered in your name.
Step 3: Choose a Hosting Plan
After purchasing a domain name, you will need to choose a hosting plan to store your website’s files and make it accessible on the internet. Namecheap offers a range of hosting plans to suit different needs and budgets. Select a plan that meets your requirements and proceed to checkout.
Step 4: Install WordPress in cPanel
Once you have purchased a domain name and hosting plan, you can install WordPress in cPanel. cPanel is a web hosting control panel that allows you to manage your website’s files, databases, and settings. To install WordPress, log in to your cPanel account and look for the “Softaculous Apps Installer” icon. Click on the icon and select WordPress from the list of available applications.
Follow the on-screen instructions to complete the installation process. You will need to enter some basic information, such as your website’s name, description, and admin username and password. Once the installation is complete, you can log in to