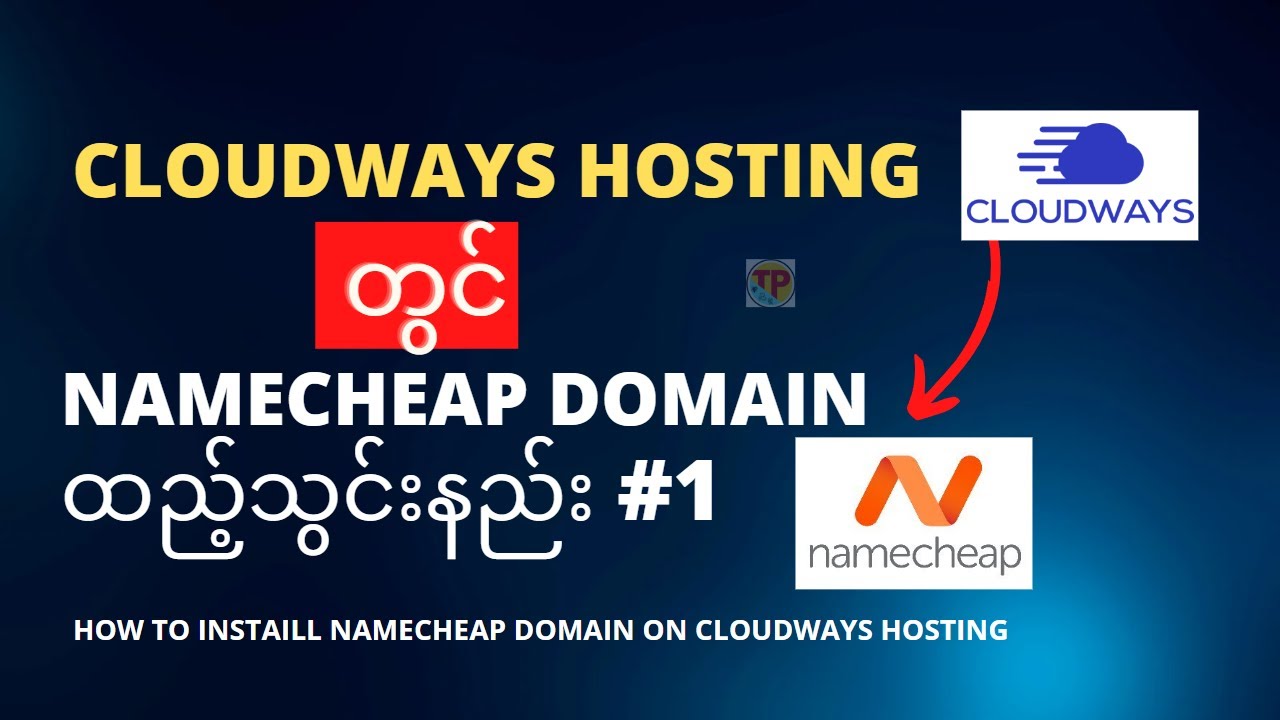
Are you looking to set up a website and wondering where to start with domain registration, hosting, and WordPress installation? Look no further! In this comprehensive guide, we will walk you through the process step by step using Namecheap for domain registration, Cloudways for hosting, and WordPress for website creation. Let’s dive in!
**Namecheap Domain Registration:**
Namecheap is a popular domain registrar known for its affordable prices and user-friendly interface. Follow these steps to register a domain with Namecheap:
1. Go to the Namecheap website and enter your desired domain name in the search bar.
2. Namecheap will show you if the domain is available. If it is, add it to your cart and proceed to checkout.
3. Create a Namecheap account or log in if you already have one.
4. Enter your payment information and complete the purchase.
5. Once the domain is registered, you can manage it through the Namecheap dashboard.
**Cloudways Hosting Setup:**
Cloudways is a cloud hosting platform that offers managed hosting solutions for various content management systems, including WordPress. Here’s how to set up hosting with Cloudways:
1. Go to the Cloudways website and sign up for an account.
2. Choose your preferred cloud infrastructure provider (such as AWS, Google Cloud, or DigitalOcean).
3. Select your server size, location, and other settings.
4. Complete the setup process and wait for Cloudways to deploy your server.
5. Once the server is ready, you can access it through the Cloudways dashboard.
**WordPress Installation:**
WordPress is a popular content management system that powers millions of websites worldwide. Follow these steps to install WordPress on your Cloudways server:
1. Log in to the Cloudways dashboard and navigate to the Applications tab.
2. Click on the Add Application button and select WordPress as the application.
3. Enter the required information, such as application name, domain, and server.
4. Click on Add Application to start the installation process.
5. Once WordPress is installed, you can access the WordPress dashboard by clicking on the application name in the Cloudways dashboard.
**Why Choose Namecheap and Cloudways for Your Website:**
– Namecheap offers competitive prices for domain registration and provides excellent customer support.
– Cloudways provides managed hosting solutions that are scalable, secure, and optimized for performance.
– WordPress is a user-friendly platform that allows you to create and customize your website with ease.
**Conclusion:**
Setting up a


