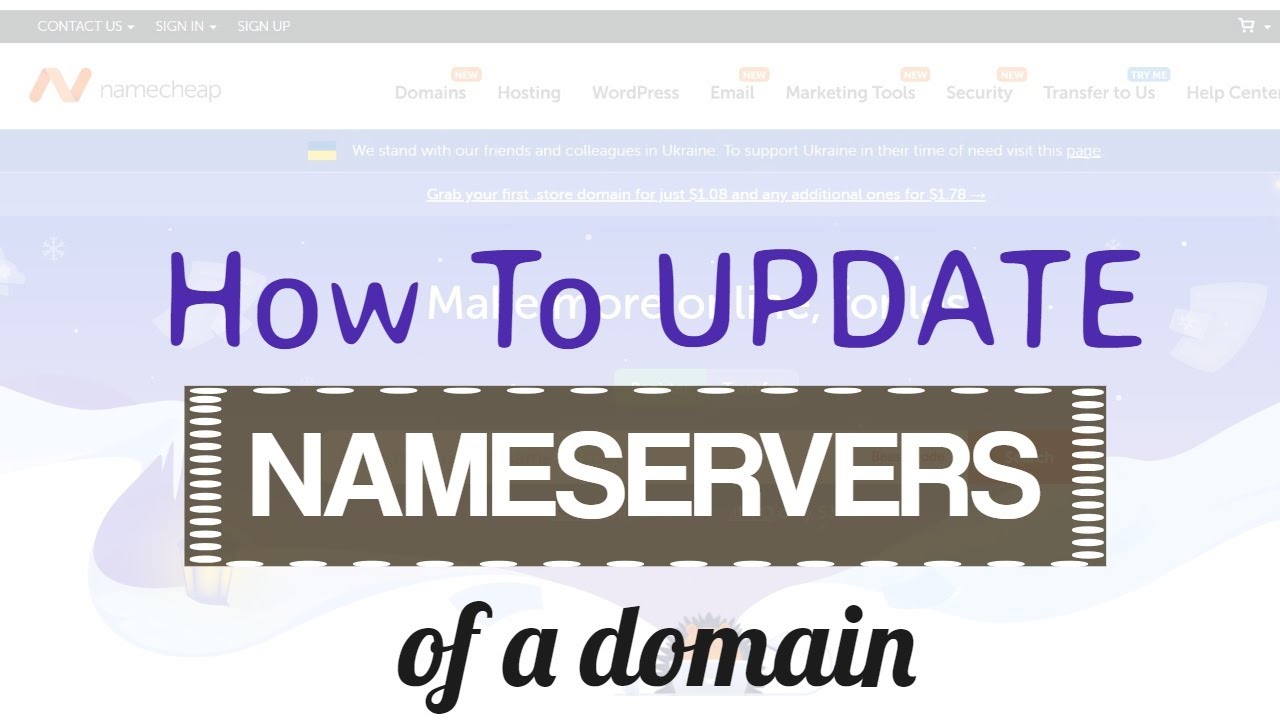
Are you looking to update the nameservers of your domain registered with Namecheap through WPMojo.uk? Changing nameservers may sound like a daunting task, but with the right guidance, you can easily navigate through the process. In this comprehensive guide, we will walk you through the steps to update the nameservers of your domain, ensuring a seamless transition.
### Why Update Nameservers?
Before we delve into the steps of updating nameservers, let’s understand why it is necessary. Nameservers are like the address book of the internet, translating domain names into IP addresses to locate websites. When you update nameservers, you are essentially directing your domain to a different hosting provider or server. This is crucial when you switch web hosting services or want to point your domain to a specific server for various purposes.
### Step-by-Step Guide to Update Nameservers
1. **Access Your Namecheap Account:** Start by logging into your Namecheap account. Navigate to the dashboard where you can manage your domains.
2. **Locate the Domain:** Identify the domain for which you want to update the nameservers. Click on the domain name to access its settings.
3. **Find Nameserver Settings:** Look for the option to manage nameservers. This can typically be found under the domain settings or advanced DNS settings.
4. **Enter New Nameservers:** Enter the new nameserver information provided by your hosting provider. Nameservers usually come in pairs (e.g., ns1.example.com, ns2.example.com). Make sure to input the correct nameserver details to avoid any disruptions.
5. **Save Changes:** Once you have entered the new nameservers, save the changes. It may take some time for the changes to propagate across the internet, so be patient.
6. **Verify Changes:** After saving the new nameservers, it’s essential to verify that the changes have been successfully implemented. You can use online tools like DNS Lookup to check the nameserver records for your domain.
### Tips for a Smooth Transition
– **Backup Data:** Before updating nameservers, ensure you have a backup of your website data to prevent any loss during the transition.
– **Check TTL Settings:** Lower the Time-To-Live (TTL) settings in advance to expedite the propagation of the new nameservers.
– **Monitor Progress:** Keep an eye on the propagation status using tools like What’s My DNS to track when the changes have taken effect globally.
### Why Choose Namecheap and WPM


