Are you looking to set up your Namecheap domain name on SiteGround hosting? You’ve come to the right place! In this comprehensive guide, we will walk you through the step-by-step process of linking your Namecheap domain with your SiteGround hosting account. By the end of this tutorial, you’ll have your website up and running smoothly.
Before we dive into the technical details, let’s briefly discuss why it’s essential to choose the right domain registrar and hosting provider for your website. Namecheap is a popular domain registrar known for its affordable prices and user-friendly interface. On the other hand, SiteGround is a reputable hosting provider with excellent performance and customer support.
Now, let’s get started with the setup process:
Step 1: Purchase a Domain Name from Namecheap
If you haven’t already registered a domain name with Namecheap, head over to their website and search for your desired domain. Once you find an available domain, proceed to purchase it. Make sure to keep your login credentials handy as you will need them later in the setup process.
Step 2: Sign Up for SiteGround Hosting
If you haven’t signed up for SiteGround hosting yet, visit their website and choose a hosting plan that suits your needs. Complete the registration process and make a note of your hosting account details, including your nameservers.
Step 3: Access Your Namecheap Account
Log in to your Namecheap account and navigate to the “Domain List” section. Find the domain name you want to connect to your SiteGround hosting account and click on the “Manage” button next to it.
Step 4: Update Nameservers
In the domain management dashboard, locate the “Nameservers” section and select the option to set custom nameservers. Enter the nameserver information provided by SiteGround (you can find this in your SiteGround hosting account) and save the changes.
Step 5: Add Domain to SiteGround
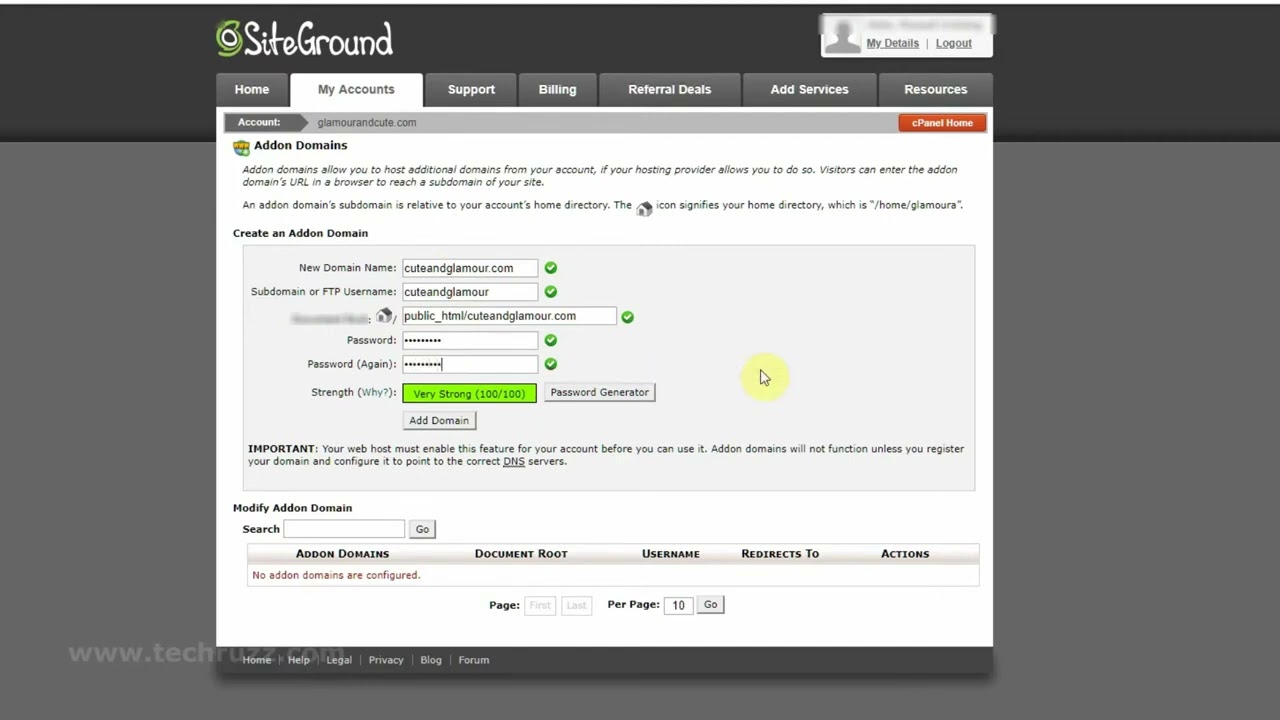
Now, log in to your SiteGround hosting account and go to the cPanel dashboard. Look for the “Addon Domains” or “Domain Manager” section and click on it. Then, select the option to add a new domain.
Enter your domain name and the directory where you want to install your website. You can also create an FTP account for the domain if needed. Click on the “Add Domain” button to complete the process.
Step 6: Install WordPress (Optional)
If you are planning to build your website using WordPress, SiteGround offers


