How To Setup A Namecheap Domain & SSL With Cloudways
Are you looking to set up a website for your business or personal use? If so, you’ll need a domain name and SSL certificate to ensure a secure and professional online presence. In this article, we’ll walk you through the process of setting up a Namecheap domain and SSL with Cloudways, a popular managed cloud hosting platform. By following these steps, you’ll be well on your way to launching your website with confidence.
Step 1: Choose a Domain Name
The first step in setting up your website is selecting a domain name. Your domain name is your website’s address on the internet, so it’s important to choose one that is memorable and relevant to your brand. Head over to Namecheap, a reputable domain registrar, and search for available domain names using their search tool. Consider using keywords related to your business or industry to help with search engine optimization (SEO).
Step 2: Purchase Your Domain Name
Once you’ve found the perfect domain name, it’s time to purchase it. Namecheap offers competitive pricing and a user-friendly interface, making the purchasing process a breeze. Simply add your desired domain name to your cart and follow the checkout process. Be sure to review your order details and select any additional services you may need, such as domain privacy protection or email hosting.
Step 3: Sign Up for Cloudways
With your domain name secured, it’s time to sign up for Cloudways, a managed cloud hosting platform known for its speed, reliability, and scalability. Cloudways offers a range of hosting options, including popular providers like Amazon Web Services (AWS), Google Cloud Platform (GCP), and DigitalOcean. Choose the provider that best suits your needs and sign up for a Cloudways account.
Step 4: Add Your Domain to Cloudways
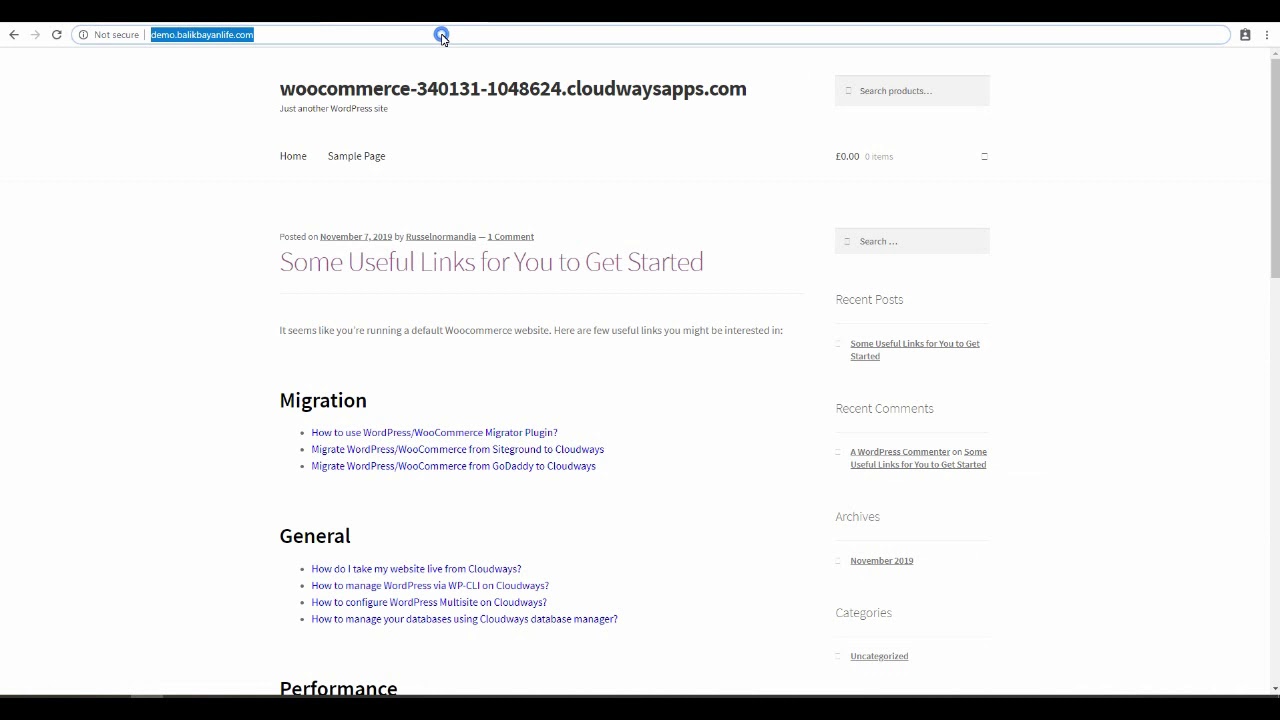
Once you’ve signed up for Cloudways, it’s time to add your domain to the platform. Log in to your Cloudways account and navigate to the “Applications” tab. Click on “Add Application” and fill in the necessary details, such as your application name, server, and project. Under the “Domain” section, select “Add Domain” and enter your domain name. Cloudways will automatically generate a temporary URL for your website.
Step 5: Point Your Domain to Cloudways
To ensure that your domain name is correctly linked to your Cloudways server, you’ll need to update your domain’s DNS settings. Log


