Are you looking to purchase shared hosting for your website but feeling overwhelmed by the process? Look no further! In this guide, we will walk you through the steps to purchase shared hosting in Namecheap, a popular and trusted domain registrar and web hosting provider.
Namecheap offers a range of hosting options, including shared hosting, which is a cost-effective solution for individuals and small businesses looking to establish an online presence. Shared hosting means that your website will share server resources with other websites, making it an affordable choice for those just starting out.
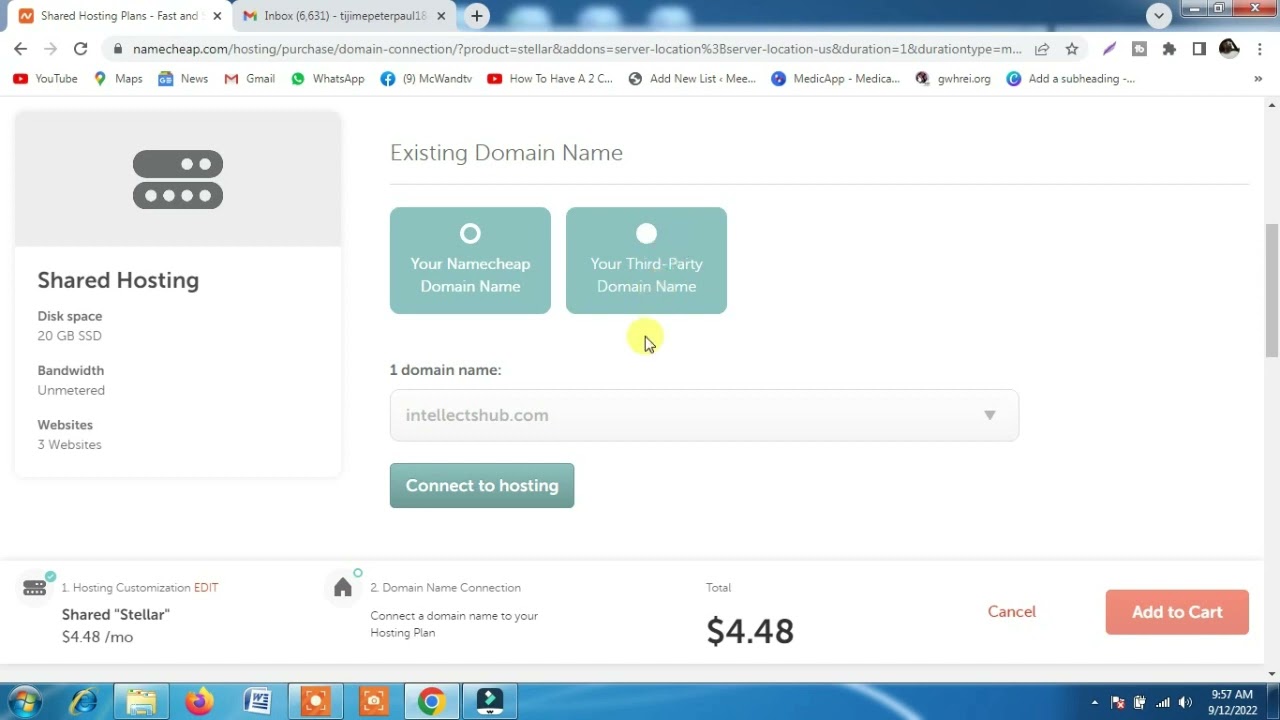
Here’s how you can purchase shared hosting in Namecheap:
1. **Visit the Namecheap Website**: Start by visiting the Namecheap website at www.namecheap.com. Once on the homepage, navigate to the “Hosting” tab in the main menu and select “Shared Hosting” from the drop-down menu.
2. **Choose a Hosting Plan**: Namecheap offers three shared hosting plans: Stellar, Stellar Plus, and Stellar Business. Compare the features and resources included in each plan to determine which one best suits your needs. Consider factors such as storage space, bandwidth, number of websites you can host, and performance features.
3. **Select Your Domain**: If you already have a domain name, you can enter it in the “I have a domain” field. If you need to register a new domain, you can search for available domain names using Namecheap’s domain search tool. Once you have selected a domain name, click “Add to Cart.”
4. **Review Your Order**: Before proceeding to checkout, review your order to ensure that you have selected the correct hosting plan and domain name. You can also add any additional services or features, such as SSL certificates or domain privacy protection, to your order at this stage.
5. **Create an Account**: If you are a new customer, you will need to create a Namecheap account to complete your purchase. Enter your email address, create a password, and provide the necessary billing information to set up your account.
6. **Enter Promo Code (if applicable)**: If you have a promo code or coupon, enter it in the designated field to apply any discounts or special offers to your order.
7. **Complete Your Purchase**: Once you have reviewed your order, agreed to Namecheap’s terms of service, and made any necessary adjustments, proceed to the payment page to complete your purchase. Namecheap accepts various payment methods, including credit/debit cards, PayPal, and cryptocurrency.
8. **


