Are you looking to supercharge your website’s performance and security by connecting your Namecheap domain with Cloudflare? You’re in the right place! In this comprehensive guide, we’ll walk you through the step-by-step process of integrating your Namecheap domain with Cloudflare to take advantage of its powerful features.
Before we dive into the technical details, let’s first understand why you should consider using Cloudflare with your Namecheap domain. Cloudflare is a content delivery network (CDN) and web security provider that offers a range of benefits, including improved website performance, enhanced security against cyber threats, and the ability to easily manage DNS settings. By connecting your Namecheap domain with Cloudflare, you can leverage these features to optimize your website’s speed, reliability, and security.
Now, let’s get started with the process of connecting your Namecheap domain with Cloudflare:
Step 1: Sign up for a Cloudflare account
To begin, you’ll need to create an account on Cloudflare’s website. Simply visit Cloudflare.com and click on the “Sign Up” button to get started. Follow the on-screen instructions to set up your account and verify your email address.
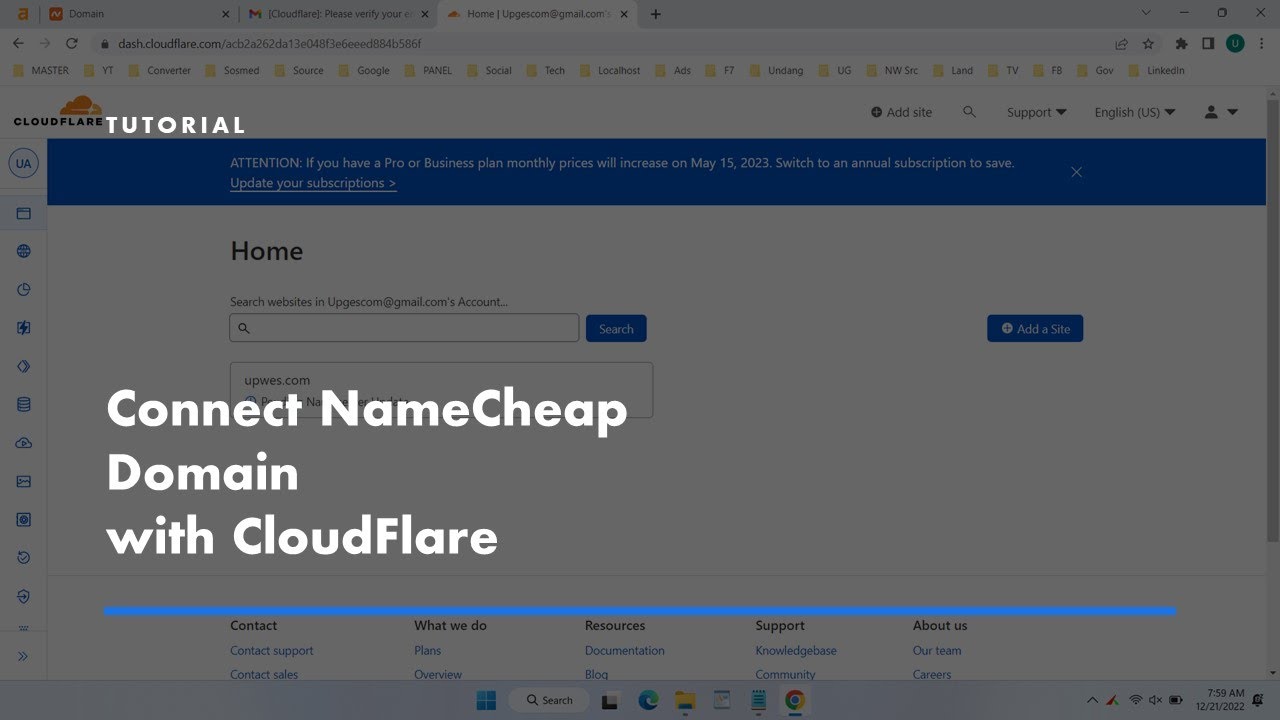
Step 2: Add your website to Cloudflare
Once you’ve created your Cloudflare account, you’ll need to add your website to the platform. Click on the “Add a Site” button and enter your website’s domain name. Cloudflare will then scan your DNS records to detect your current settings.
Step 3: Change your domain’s nameservers
After adding your website to Cloudflare, you’ll be provided with two Cloudflare nameservers. To connect your Namecheap domain with Cloudflare, you’ll need to update your domain’s nameservers to point to Cloudflare’s nameservers. To do this, log in to your Namecheap account, navigate to the “Domain List” section, and click on the “Manage” button next to your domain. Then, go to the “Nameservers” section and select “Custom DNS.” Enter the Cloudflare nameservers provided to you and save your changes.
Step 4: Configure Cloudflare settings
Once you’ve updated your domain’s nameservers, return to your Cloudflare account and navigate to the “DNS” tab. Here, you can configure various settings, such as setting up SSL/TLS encryption, enabling firewall rules, and optimizing caching options. Make sure to review and adjust these settings according to your website’s requirements.
Step 5:


