How to Buy a Domain Name on Namecheap
Are you looking to establish an online presence for your business or personal brand? One of the first steps you’ll need to take is buying a domain name. A domain name is your website’s address on the internet, and it plays a crucial role in attracting visitors and building credibility. In this article, we will guide you through the process of buying a domain name on Namecheap, a popular domain registrar known for its user-friendly interface and affordable prices.
Step 1: Sign up for an Account
To get started, visit the Namecheap website and sign up for an account. You’ll need to provide your email address and create a password. Once you’ve completed the registration process, you’ll have access to the Namecheap dashboard, where you can manage your domain names and other services.
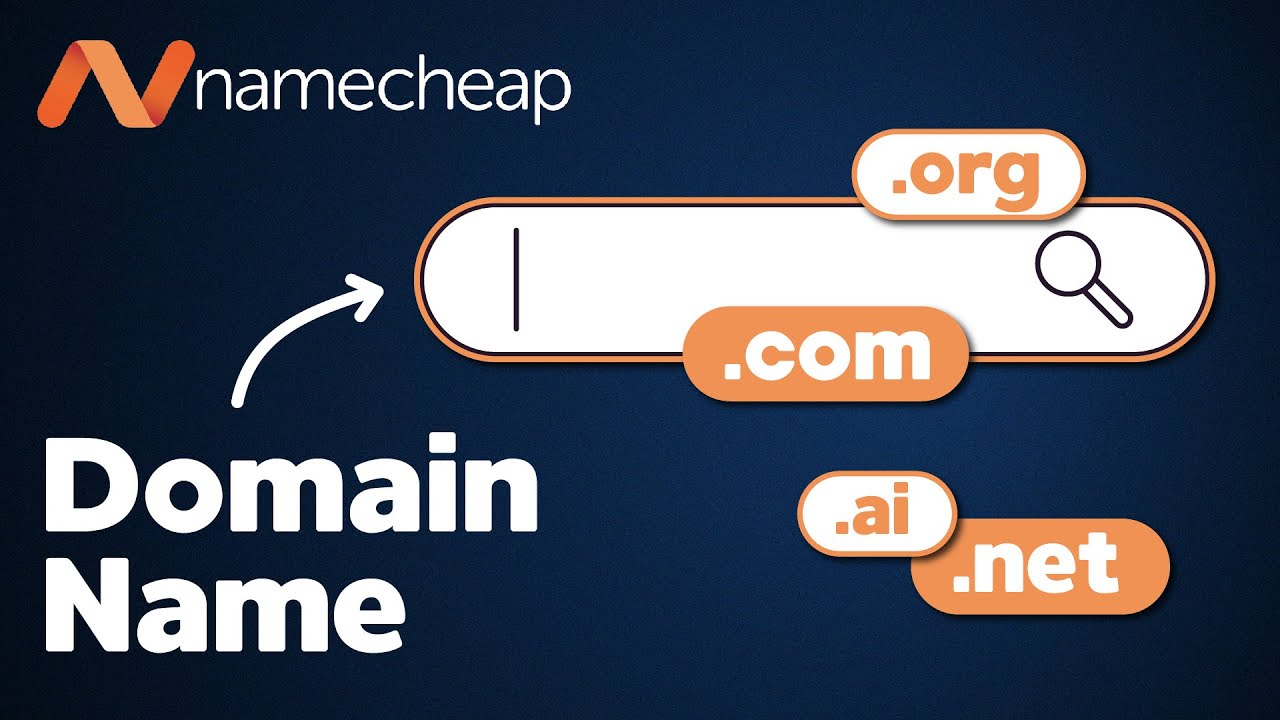
Step 2: Search for Available Domain Names
Now that you have an account, it’s time to search for the perfect domain name. Use the search bar on the Namecheap homepage to enter the domain name you have in mind. Namecheap will display the availability of the domain name along with alternative suggestions if your desired name is already taken. It’s important to choose a domain name that is memorable, relevant to your brand, and easy to spell.
Step 3: Select a Domain Extension
A domain extension is the part of the domain name that comes after the dot, such as .com, .net, or .org. The most popular and widely recognized domain extension is .com, but there are many other options available. Consider your target audience and the purpose of your website when choosing a domain extension. For example, if you are targeting a specific country, you might want to use a country-specific domain extension like .co.uk for the United Kingdom or .de for Germany.
Step 4: Add the Domain to Your Cart
Once you have found the perfect domain name and extension, click the “Add to Cart” button. You can continue searching for additional domain names or proceed to the checkout process. Namecheap also offers additional services like web hosting, SSL certificates, and email hosting, which you can add to your cart if needed.
Step 5: Review and Customize Your Order
Before finalizing your purchase, review your order to ensure that everything is correct. Namecheap will display the total cost of your domain name and any additional services you have selected. Take this opportunity to customize your domain name settings, such as enabling Whois


