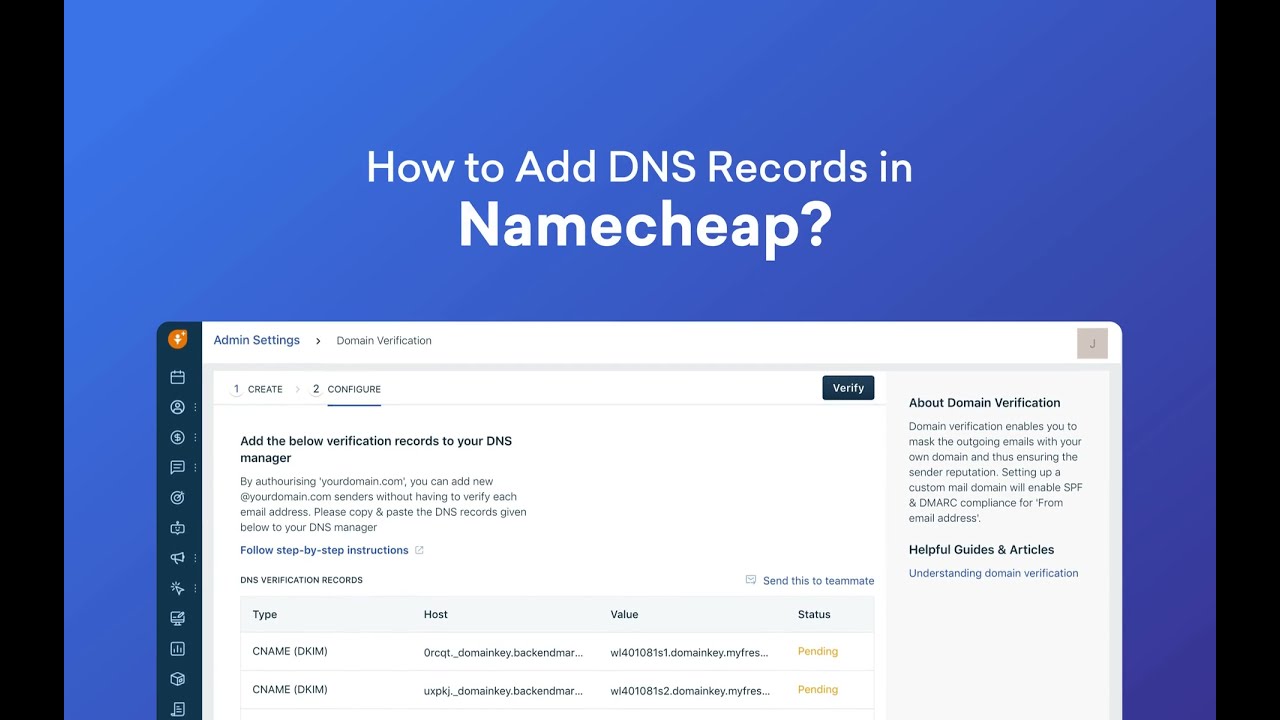
Are you looking to add a DNS record in Namecheap but not sure where to start? Don’t worry, I’ve got you covered! In this guide, I’ll walk you through the step-by-step process of adding a DNS record in Namecheap so you can easily manage your domain’s settings.
Before we dive into the details, let’s first understand what DNS records are and why they are important. DNS, which stands for Domain Name System, is like the phonebook of the internet. It translates domain names into IP addresses, allowing users to access websites using easy-to-remember domain names instead of complex numerical IP addresses.
DNS records are essentially instructions that tell DNS servers how to handle a domain’s traffic. By adding DNS records, you can control various aspects of your domain, such as pointing it to a specific web server, setting up email services, or configuring subdomains.
Now, let’s get started on adding a DNS record in Namecheap:
1. **Log in to your Namecheap account**: Go to Namecheap’s website and log in to your account using your username and password.
2. **Access your Domain List**: Once you’re logged in, you’ll be taken to your dashboard. Click on the “Domain List” tab to view a list of domains associated with your account.
3. **Select the Domain**: Locate the domain for which you want to add a DNS record and click on the “Manage” button next to it. This will take you to the domain management page.
4. **Navigate to the Advanced DNS tab**: In the domain management page, look for the “Advanced DNS” tab or a similar option that allows you to manage your domain’s DNS settings. Click on it to access the DNS management section.
5. **Add a New DNS Record**: In the DNS management section, you’ll see a list of existing DNS records for your domain. To add a new record, look for an option like “Add New Record” or “Add Record” and click on it.
6. **Select the Record Type**: Choose the type of DNS record you want to add, such as A record, CNAME record, MX record, TXT record, etc. Each record type serves a different purpose, so make sure to select the appropriate one for your needs.
7. **Enter the Record Details**: Depending on the record type you selected, you’ll need to provide specific details such as the hostname, value, TTL (Time to Live), etc.


