Are you ready to launch your own website but not sure where to start? Look no further! In this step-by-step tutorial, I will guide you through the process of creating a website with Bluehost, one of the most popular web hosting services available. By the end of this tutorial, you will have your very own website up and running in no time.
Bluehost is a reliable and user-friendly web hosting service that offers a variety of features to help you create and manage your website with ease. Whether you’re a beginner or an experienced webmaster, Bluehost has everything you need to get started.
So, let’s dive into the tutorial and get your website up and running with Bluehost!
Step 1: Sign Up for Bluehost
The first step in creating a website with Bluehost is to sign up for an account. Visit the Bluehost website and click on the “Get Started” button. Choose a hosting plan that best suits your needs – whether you’re looking to create a personal blog, a business website, or an online store, Bluehost has a plan for you.
Step 2: Choose a Domain Name
Once you’ve selected a hosting plan, it’s time to choose a domain name for your website. Your domain name is your website’s address on the internet, so make sure it’s memorable and reflects the content of your site. Bluehost offers a free domain name with all hosting plans, making it easy to get started.
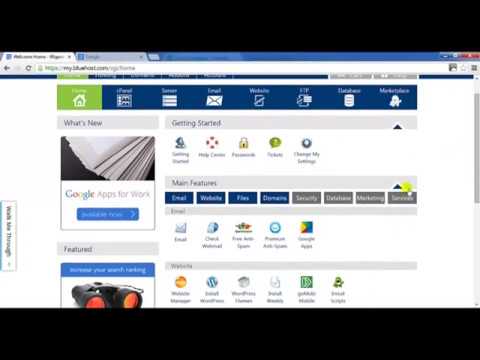
Step 3: Set Up Your Hosting Account
After choosing a domain name, you’ll need to set up your hosting account. Enter your personal information, choose a hosting package, and select any additional features you may need, such as domain privacy or site backup. Review your order and complete the payment process to set up your hosting account.
Step 4: Install WordPress
Bluehost makes it easy to create a website with WordPress, the most popular content management system on the web. Once your hosting account is set up, log in to your Bluehost account and navigate to the control panel. Click on the “One-Click Installs” icon and select WordPress from the list of available applications. Follow the on-screen instructions to install WordPress on your domain.
Step 5: Choose a Theme
With WordPress installed, it’s time to choose a theme for your website. WordPress offers a wide range of free and premium themes to customize the look and feel of your site. Browse through the available themes, select one that fits your


