If you have a website hosted on Hostinger or any other hosting service, it’s crucial to keep your PHP version up to date to ensure optimal performance, security, and compatibility with the latest web technologies. PHP is a server-side scripting language that powers a significant portion of the internet, so staying current with the latest version is essential.
Updating PHP on Hostinger is a straightforward process that can be done through the control panel. In this article, we’ll walk you through the steps to update PHP to the latest version on Hostinger or any hosting service.
1. **Check your current PHP version**: Before you update PHP, it’s essential to know which version your website is currently running. You can usually find this information in your hosting control panel or by creating a PHP info file on your server.
2. **Backup your website**: Before making any changes to your website’s PHP version, it’s always a good idea to back up your files and database. This way, you can easily restore your site if anything goes wrong during the update process.
3. **Log in to your hosting control panel**: Once you’ve backed up your website, log in to your hosting control panel. In the case of Hostinger, you can access the control panel by logging in to your Hostinger account and navigating to the ‘Hosting’ section.
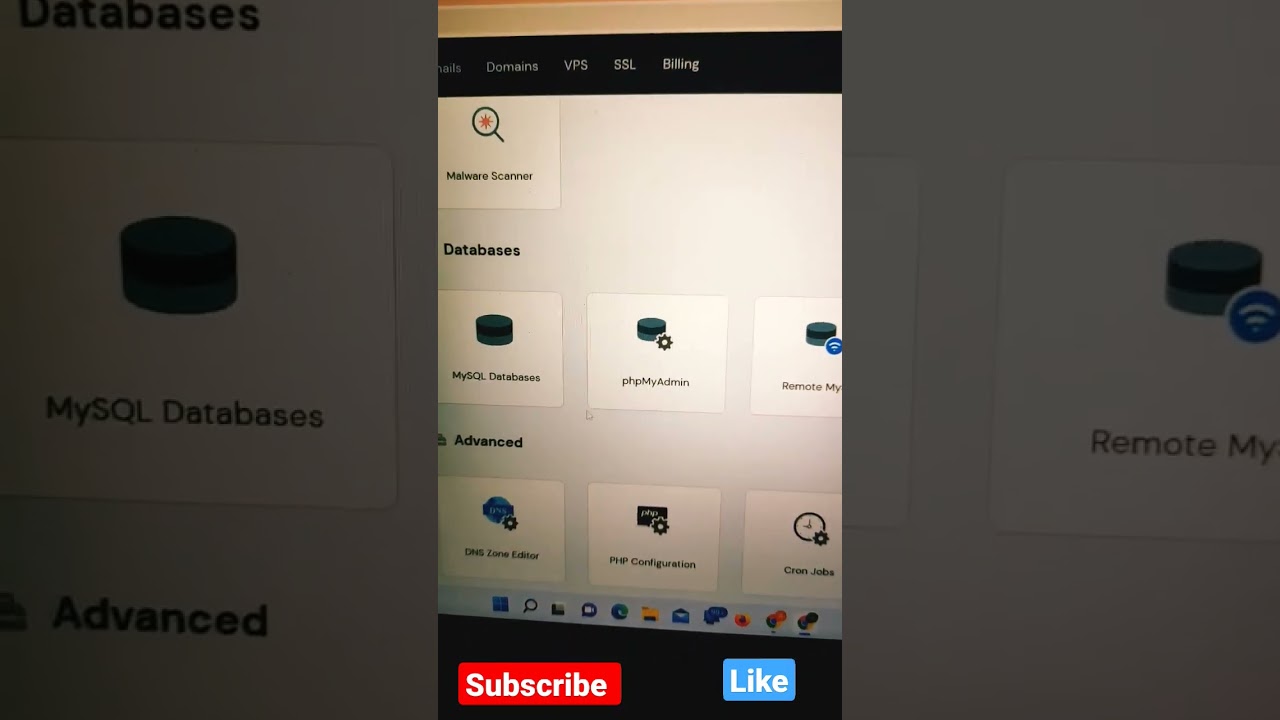
4. **Locate the PHP settings**: In the control panel, look for the PHP settings or PHP configuration section. This is where you can change the PHP version for your website.
5. **Select the latest PHP version**: In the PHP settings section, you should see a dropdown menu or list of available PHP versions. Choose the latest stable version from the list. It’s recommended to use the most recent version for improved performance and security.
6. **Save your changes**: After selecting the new PHP version, don’t forget to save your changes. This will apply the updated PHP version to your website.
7. **Test your website**: Once you’ve updated the PHP version, it’s crucial to test your website thoroughly to ensure that everything is working correctly. Check all the functionalities, plugins, and themes to make sure they are compatible with the new PHP version.
8. **Monitor your website**: After updating PHP, keep an eye on your website to ensure that everything continues to work smoothly. If you encounter any issues, you may need to troubleshoot and make adjustments to ensure compatibility with the updated PHP version.
By following these steps, you can easily update


