Are you looking to transfer your domain from GoDaddy to Hostinger but not sure where to start? Don’t worry, I’ve got you covered! In this step-by-step tutorial, I will guide you through the process of transferring your domain from GoDaddy to Hostinger in 2024. By the end of this tutorial, you will have all the information you need to successfully transfer your domain without any hassle.
Before we dive into the tutorial, let’s first understand why you might want to transfer your domain from GoDaddy to Hostinger. While GoDaddy is a popular domain registrar with a wide range of services, Hostinger is known for its affordable hosting plans and excellent customer support. By transferring your domain to Hostinger, you can take advantage of their hosting services and enjoy a seamless experience managing both your domain and hosting in one place.
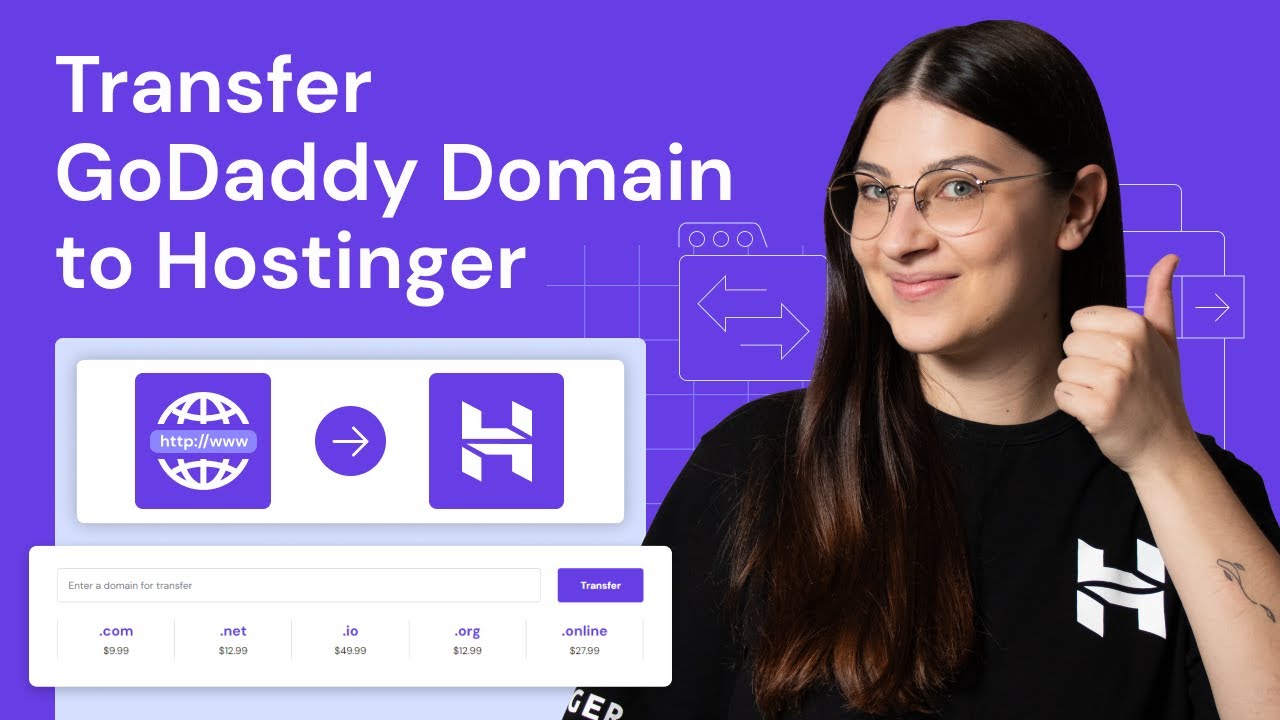
Now, let’s get started with the domain transfer process:
Step 1: Prepare Your Domain for Transfer
Before initiating the transfer process, there are a few things you need to do to prepare your domain:
1. Unlock your domain: Log in to your GoDaddy account, go to the Domain Manager, and unlock the domain you want to transfer.
2. Disable domain privacy: If you have domain privacy enabled, disable it to ensure a smooth transfer process.
3. Obtain the EPP code: Also known as the authorization code, the EPP code is required to transfer your domain. You can find this code in your GoDaddy account under the domain settings.
Step 2: Initiate the Domain Transfer on Hostinger
Once you have prepared your domain on GoDaddy, it’s time to initiate the transfer on Hostinger. Follow these steps:
1. Log in to your Hostinger account and navigate to the Domain section.
2. Click on “Transfer a domain” and enter the domain name you want to transfer.
3. Follow the on-screen instructions to complete the domain transfer process.
4. During the transfer process, you will be prompted to enter the EPP code obtained from GoDaddy.
Step 3: Confirm the Domain Transfer
After initiating the transfer on Hostinger, you will receive an email confirmation with further instructions. You may also receive emails from both GoDaddy and Hostinger to confirm the transfer. Follow the instructions in the emails to confirm the domain transfer.
Step 4: Wait for the Transfer to Complete
Once you have confirmed the domain transfer, you will need to


