Are you looking to create your own website using WordPress on Bluehost but don’t know where to start? Look no further! In this comprehensive guide, I will walk you through the step-by-step process of setting up a WordPress site on Bluehost. By the end of this tutorial, you will have your very own professional-looking website up and running in no time.
Bluehost is one of the most popular web hosting providers in the industry, known for its reliability, affordability, and user-friendly interface. WordPress, on the other hand, is the leading content management system (CMS) that powers over 40% of all websites on the internet. By combining Bluehost’s hosting services with WordPress’s powerful features, you can create a dynamic and engaging website for your business, blog, or online portfolio.
Let’s dive into the tutorial and get your WordPress site set up on Bluehost:
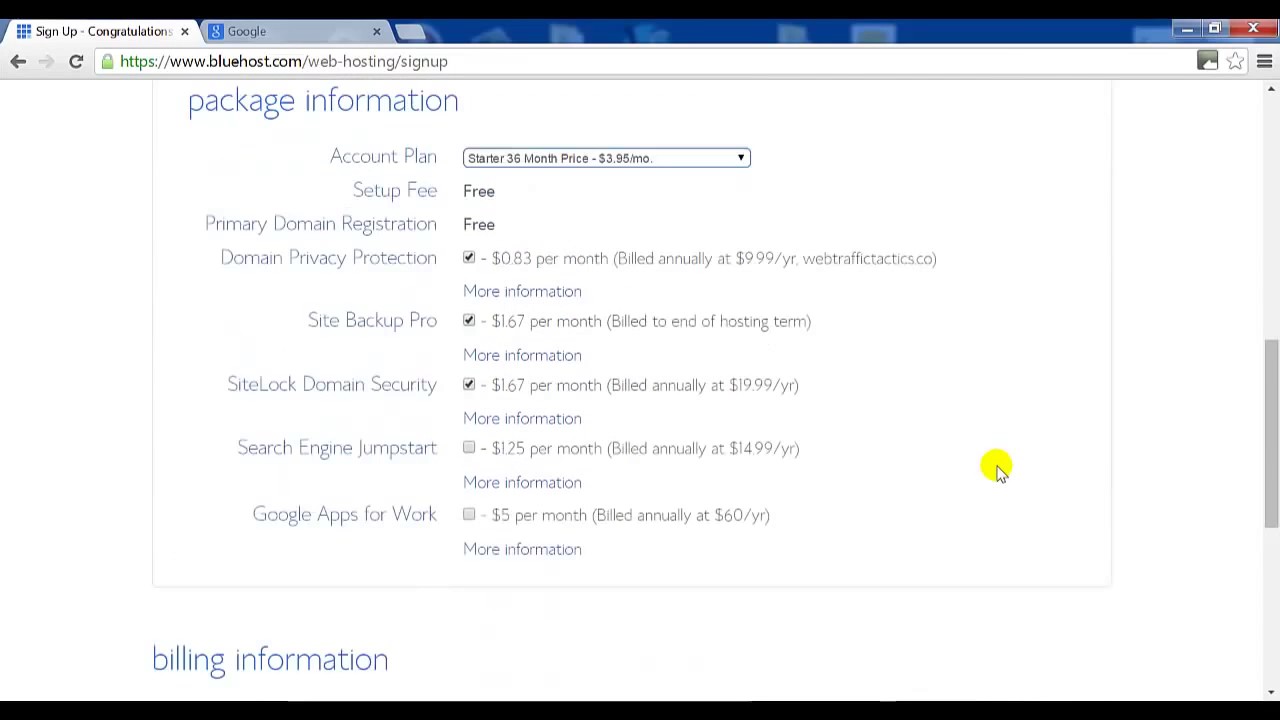
Step 1: Sign up for Bluehost
The first step in creating your WordPress site is to sign up for a hosting account with Bluehost. Visit the Bluehost website and choose a hosting plan that best suits your needs. Bluehost offers a variety of hosting options, including shared hosting, VPS hosting, and dedicated hosting. Select a plan, enter your domain name (or register a new one), and complete the registration process.
Step 2: Install WordPress
Once you have signed up for a hosting account with Bluehost, you can easily install WordPress with just a few clicks. Log in to your Bluehost account, navigate to the control panel, and find the “One-Click Installs” option. Select WordPress from the list of available applications and follow the on-screen instructions to complete the installation process. Within minutes, WordPress will be installed on your Bluehost account.
Step 3: Configure WordPress Settings
After installing WordPress, you can log in to your WordPress dashboard by visiting your domain name followed by “/wp-admin” (e.g., yourwebsite.com/wp-admin). Enter your username and password to access the dashboard. From here, you can customize your website’s settings, including the site title, tagline, permalinks, and more. You can also choose a theme for your website to give it a unique look and feel.
Step 4: Install Essential Plugins
WordPress plugins are add-on software that extends the functionality of your website. There are thousands of plugins available for WordPress, ranging from SEO tools to contact forms to social media integrations. Some essential plugins to consider installing


