Are you looking to set up a WordPress site on Bluehost but feeling overwhelmed by the technical aspects? Don’t worry, I’ve got you covered! In this step-by-step guide, I’ll walk you through the process of setting up your very own WordPress website on Bluehost. By the end of this tutorial, you’ll have a fully functional website up and running in no time.
Bluehost is one of the most popular web hosting providers in the world, known for its reliability, affordability, and user-friendly interface. With Bluehost, you can easily set up a WordPress site with just a few clicks. So let’s dive in and get started!
Step 1: Sign Up for Bluehost
The first step in setting up your WordPress site on Bluehost is to sign up for a hosting account. Visit the Bluehost website and click on the “Get Started” button. Choose a hosting plan that best suits your needs and budget. Bluehost offers a variety of plans, including shared hosting, VPS hosting, and dedicated hosting.
Step 2: Choose a Domain Name
Next, you’ll need to choose a domain name for your website. A domain name is the web address where visitors can find your site (e.g., www.yourwebsite.com). Bluehost offers a free domain name for the first year with all hosting plans. Enter your desired domain name in the search box to see if it’s available. If your preferred domain name is taken, Bluehost will suggest alternative options for you to choose from.
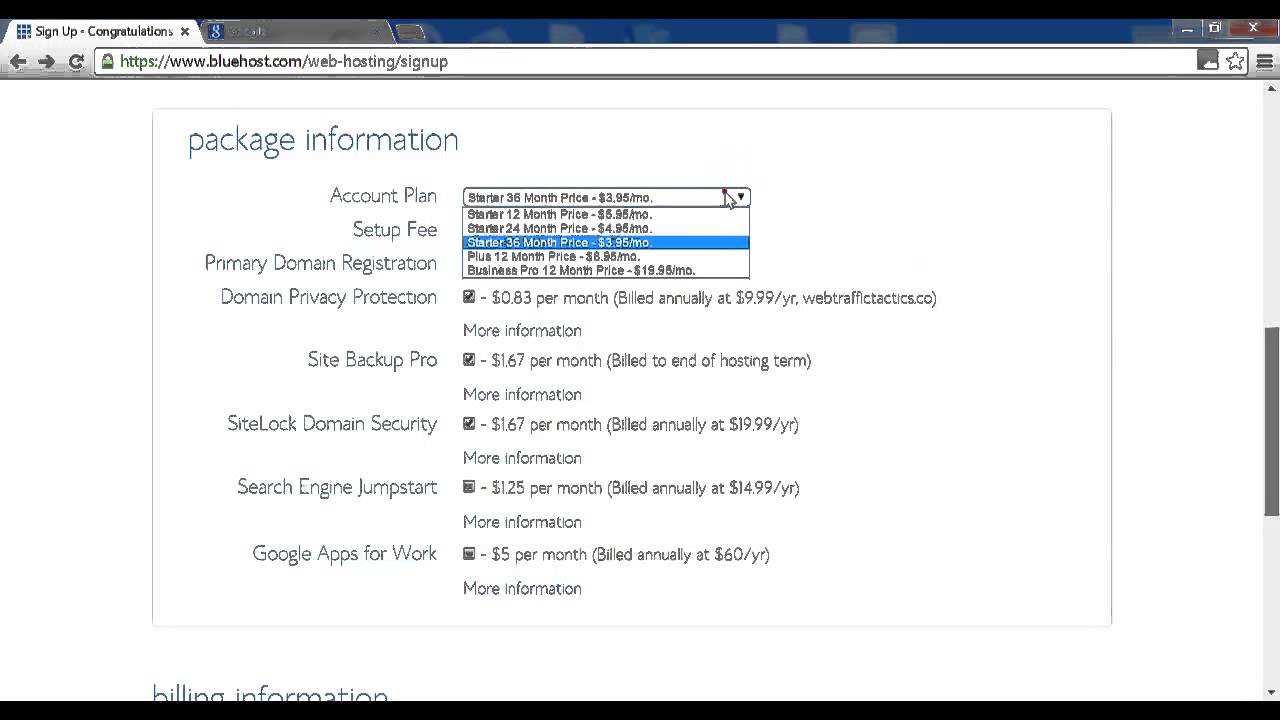
Step 3: Complete the Registration Process
Once you’ve selected a hosting plan and domain name, you’ll need to complete the registration process by entering your personal and payment information. Review your order details and select any additional add-ons or services you may need, such as domain privacy protection or site backup. Once you’ve completed the registration process, you’ll receive a confirmation email with login details for your Bluehost account.
Step 4: Install WordPress
After signing up for a Bluehost account, you can easily install WordPress with just a few clicks. Log in to your Bluehost account and navigate to the control panel (cPanel). Look for the “Website” section and click on the “Install WordPress” icon. Follow the on-screen instructions to complete the WordPress installation process. You’ll need to create a username and password for your WordPress admin account, which you’ll use to log in to your website’s dashboard.
Step 5: Choose a Theme


