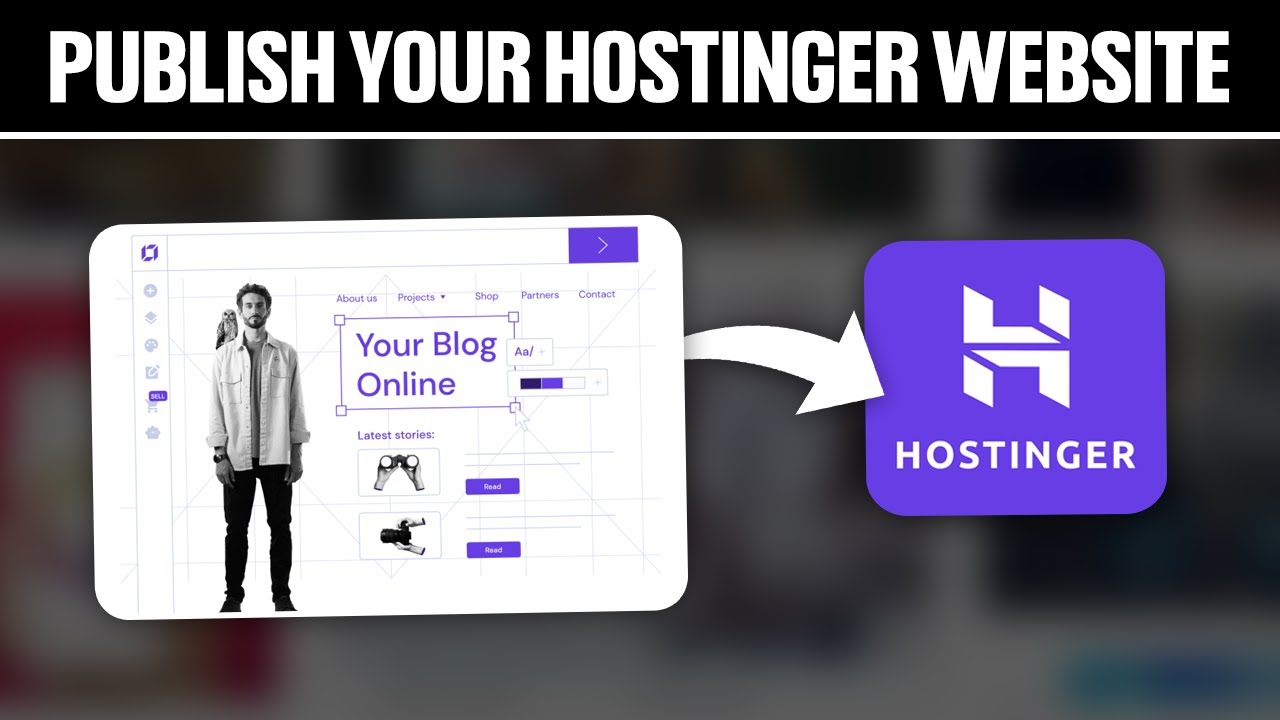
Are you ready to take your website live in 2024? Publishing your Hostinger website is an exciting step towards sharing your content with the world. Whether you’re a blogger, business owner, or hobbyist, getting your website online is crucial for reaching your audience and achieving your goals.
In this full tutorial, we’ll walk you through the process of publishing your Hostinger website in 2024. From setting up your hosting account to uploading your website files and making it live, we’ve got you covered. Let’s dive in!
Step 1: Choose Hostinger as Your Web Hosting Provider
Hostinger is a popular web hosting provider known for its affordable plans, reliable services, and user-friendly interface. If you haven’t already signed up for a Hostinger account, head to their website and select a hosting plan that suits your needs. Once you’ve created an account and registered your domain name, you’re ready to move on to the next step.
Step 2: Set Up Your Hosting Account
After purchasing a hosting plan, you’ll need to set up your hosting account. Log in to your Hostinger account dashboard and navigate to the control panel. Here, you can manage your hosting settings, domain names, email accounts, and more. Take some time to familiarize yourself with the control panel and explore the features available to you.
Step 3: Upload Your Website Files
To publish your website, you’ll need to upload your website files to your Hostinger account. You can do this using an FTP client like FileZilla or through Hostinger’s file manager. Simply connect to your hosting account using the FTP credentials provided by Hostinger and upload your website files to the public_html directory.
Step 4: Configure Your Domain Name
If you’ve registered a domain name through Hostinger, you can easily link it to your hosting account. In the control panel, navigate to the “Domains” section and add your domain name. You’ll need to update the nameservers to point to Hostinger’s servers, which may take some time to propagate.
Step 5: Test Your Website
Before making your website live, it’s important to test it to ensure everything is working correctly. Open a web browser and enter your domain name to view your website. Check for any broken links, missing images, or other issues that need to be fixed before going live.
Step 6: Make Your Website Live
Once you’ve tested your website and everything looks good, it’s


