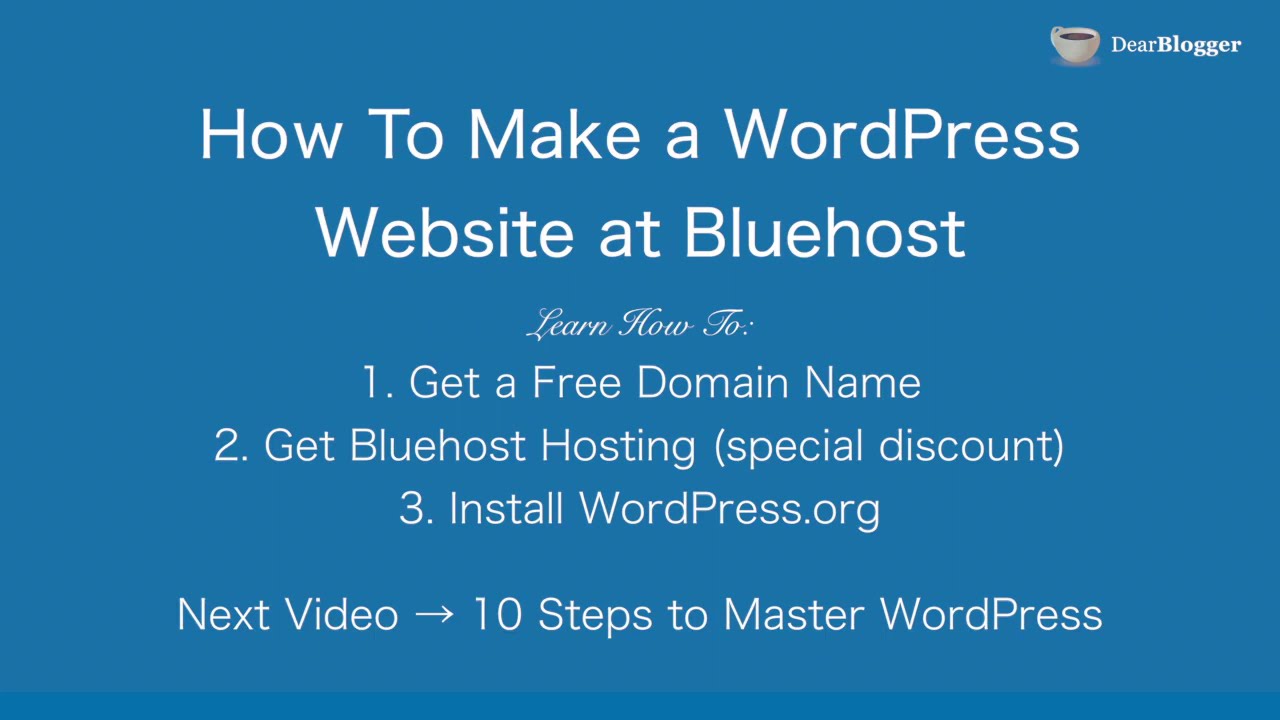
Are you ready to create your very own WordPress website with Bluehost? Whether you’re starting a blog, setting up an online store, or showcasing your portfolio, this step-by-step tutorial will guide you through the process. By the end of this article, you’ll have a fully functional website up and running.
Step 1: Sign up for Bluehost
The first step in creating your WordPress website is to sign up for a hosting plan with Bluehost. Bluehost is one of the most popular web hosting providers and is recommended by WordPress.org. To get started, visit the Bluehost website and choose a hosting plan that suits your needs. You can select from shared hosting, VPS hosting, dedicated hosting, or WordPress hosting.
Step 2: Register a domain name
Once you’ve selected a hosting plan, you’ll need to register a domain name for your website. Your domain name is your website’s address on the internet (e.g., www.yourwebsite.com). Bluehost offers a free domain name for the first year with all hosting plans. Enter your desired domain name in the search bar to see if it’s available. If your preferred domain name is taken, Bluehost will suggest alternative options.
Step 3: Install WordPress
After signing up for a hosting plan and registering a domain name, it’s time to install WordPress. Bluehost makes it easy to install WordPress with just a few clicks. Log in to your Bluehost account, navigate to the control panel, and click on the “One-Click Installs” button. Select WordPress from the list of available platforms and follow the on-screen instructions to complete the installation process.
Step 4: Choose a WordPress theme
Once WordPress is installed, you can choose a theme for your website. WordPress offers thousands of free and premium themes that you can customize to suit your brand and style. To browse and install themes, log in to your WordPress dashboard, go to the “Appearance” section, and click on “Themes.” You can preview different themes and activate the one that best fits your website’s design.
Step 5: Customize your website
With your theme in place, it’s time to customize your website to make it your own. You can add pages, posts, images, and other content to your site using the WordPress editor. Customize the header, footer, sidebar, and other elements to reflect your branding. You can also install plugins to add functionality to your website, such as contact forms, social media


