Are you looking to start your own blog but don’t know where to begin? Creating a blog using WordPress and Bluehost is a great way to get started. In this tutorial, we will guide you through the process of setting up your blog step by step.
WordPress is a popular content management system that allows you to create and manage your blog with ease. Bluehost is a web hosting service that provides the necessary infrastructure to make your blog accessible on the internet. By combining these two platforms, you can have your blog up and running in no time.
Let’s dive into the tutorial on how to make a blog using WordPress and Bluehost:
Step 1: Choose a Domain Name
The first step in creating a blog is to choose a domain name. Your domain name is the web address where visitors can find your blog. It should be unique, easy to remember, and relevant to the content of your blog. You can check the availability of your desired domain name on Bluehost’s website.
Step 2: Sign Up for Bluehost
Once you have chosen a domain name, it’s time to sign up for a hosting plan with Bluehost. Bluehost offers a variety of hosting plans to suit your needs. Select a plan that fits your budget and requirements, and proceed with the sign-up process.
Step 3: Install WordPress
After signing up for a hosting plan, you can install WordPress on your Bluehost account. WordPress is available as a one-click installation on Bluehost, making it easy to set up your blog. Follow the on-screen instructions to complete the installation process.
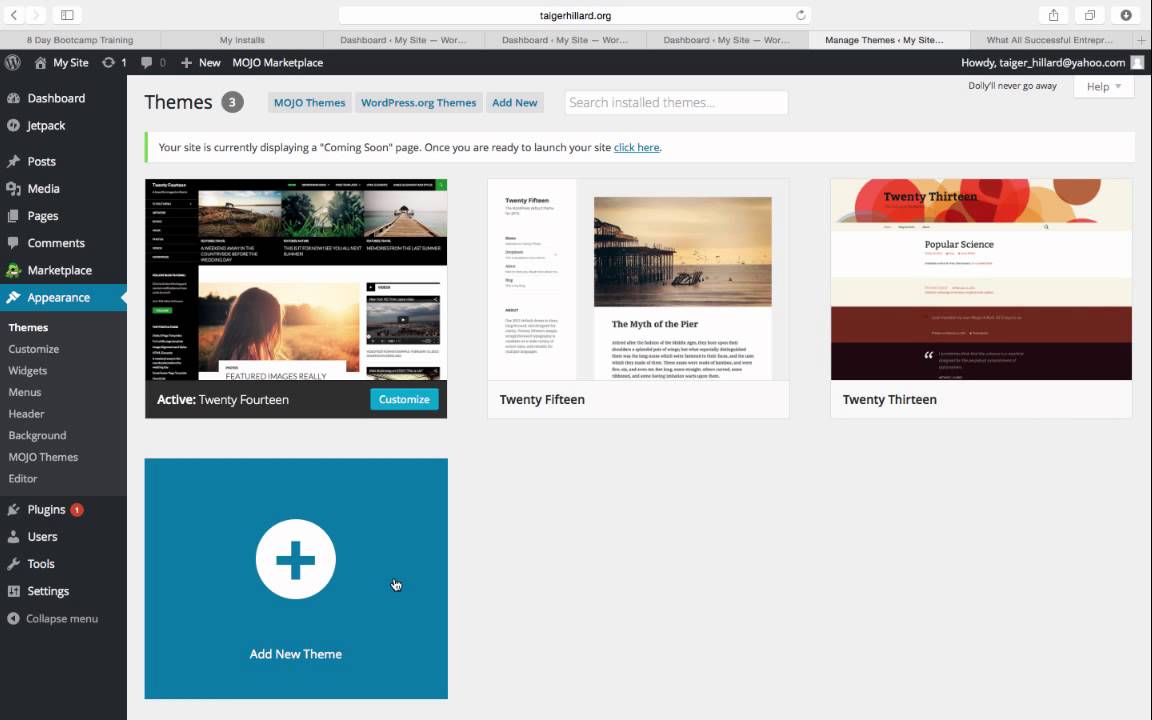
Step 4: Choose a Theme
Once WordPress is installed, you can choose a theme for your blog. WordPress offers a wide range of free and premium themes that you can customize to suit your style and branding. Select a theme that reflects the tone and purpose of your blog.
Step 5: Customize Your Blog
After selecting a theme, you can customize your blog by adding pages, posts, widgets, and plugins. Pages are static content such as an About Me page or a Contact page, while posts are dynamic content that you publish regularly. Widgets and plugins enhance the functionality of your blog.
Step 6: Create Quality Content
Now that your blog is set up, it’s time to start creating quality content. Write blog posts that are informative, engaging, and relevant to your target audience. Use keywords strategically to improve your blog’s visibility in search engine results.
Step 7: Promote


