Are you ready to launch your very own website using Bluehost and WordPress? Bluehost is one of the most popular web hosting providers, known for its user-friendly interface and excellent customer support. WordPress, on the other hand, is the most widely used content management system (CMS) in the world, offering a plethora of themes and plugins to customize your site. In this step-by-step guide, I will walk you through the process of installing WordPress on your Bluehost hosting account/server. Let’s get started!
Step 1: Sign Up for a Bluehost Account
If you haven’t already signed up for a Bluehost account, head over to their website and choose a hosting plan that suits your needs. Bluehost offers a variety of hosting options, including shared hosting, VPS hosting, and dedicated hosting. Once you’ve selected a plan, follow the prompts to create your account and complete the registration process.
Step 2: Log in to Your Bluehost Account
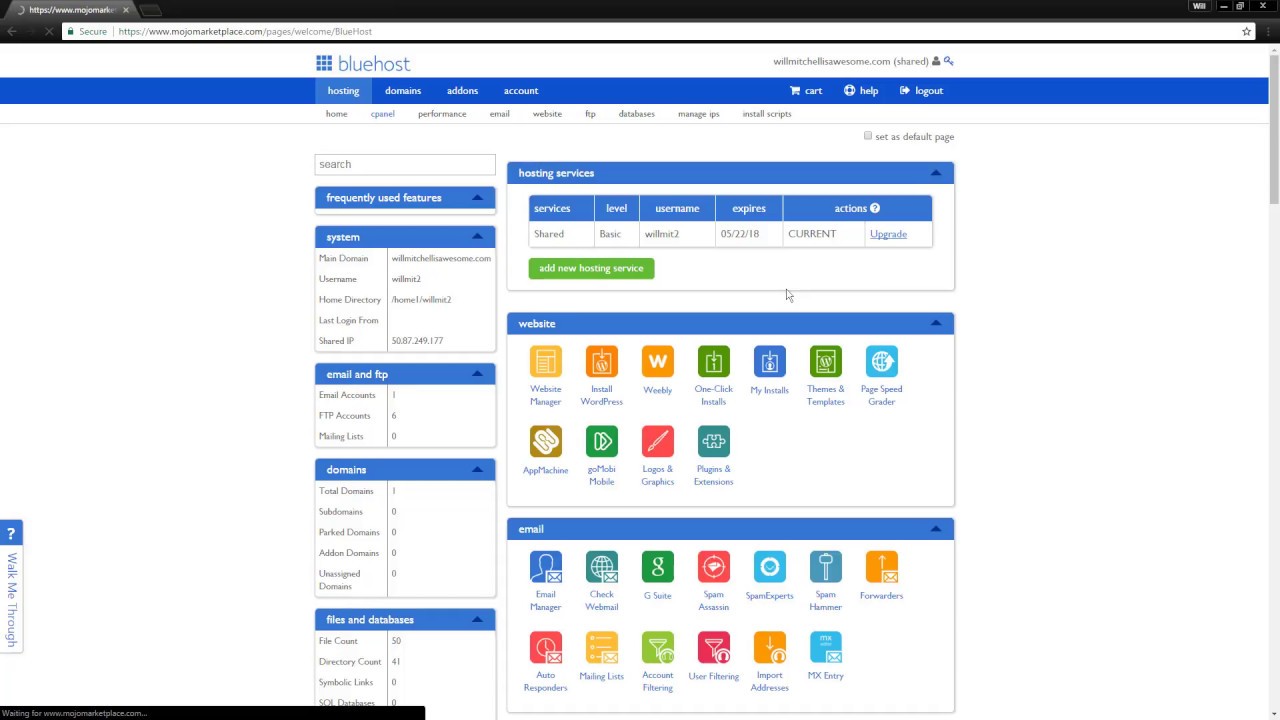
After signing up for a Bluehost account, log in to your Bluehost dashboard using the credentials you provided during the registration process. Once logged in, you will see the Bluehost dashboard, where you can manage your hosting account, domain names, and other settings.
Step 3: Install WordPress
To install WordPress on your Bluehost hosting account, follow these steps:
1. In the Bluehost dashboard, navigate to the “My Sites” tab and click on the “Create Site” button.
2. Enter the name of your website, a tagline (optional), and the domain name where you want to install WordPress.
3. Click on the “Next” button to proceed.
4. Choose a domain name for your website from the dropdown menu and click on the “Next” button.
5. Select the domain you want to install WordPress on and click on the “Next” button.
6. Choose the domain settings, such as enabling or disabling SSL and setting up a directory for your site (optional).
7. Click on the “Next” button to proceed.
8. Bluehost will now install WordPress on your selected domain. This process may take a few minutes to complete.
9. Once the installation is complete, you will see a confirmation message with your WordPress login credentials.
Step 4: Access Your WordPress Dashboard
To access your WordPress dashboard, click on the “Log In to WordPress” button in the confirmation message or navigate to your domain name followed by “/wp-admin” in your web browser (


