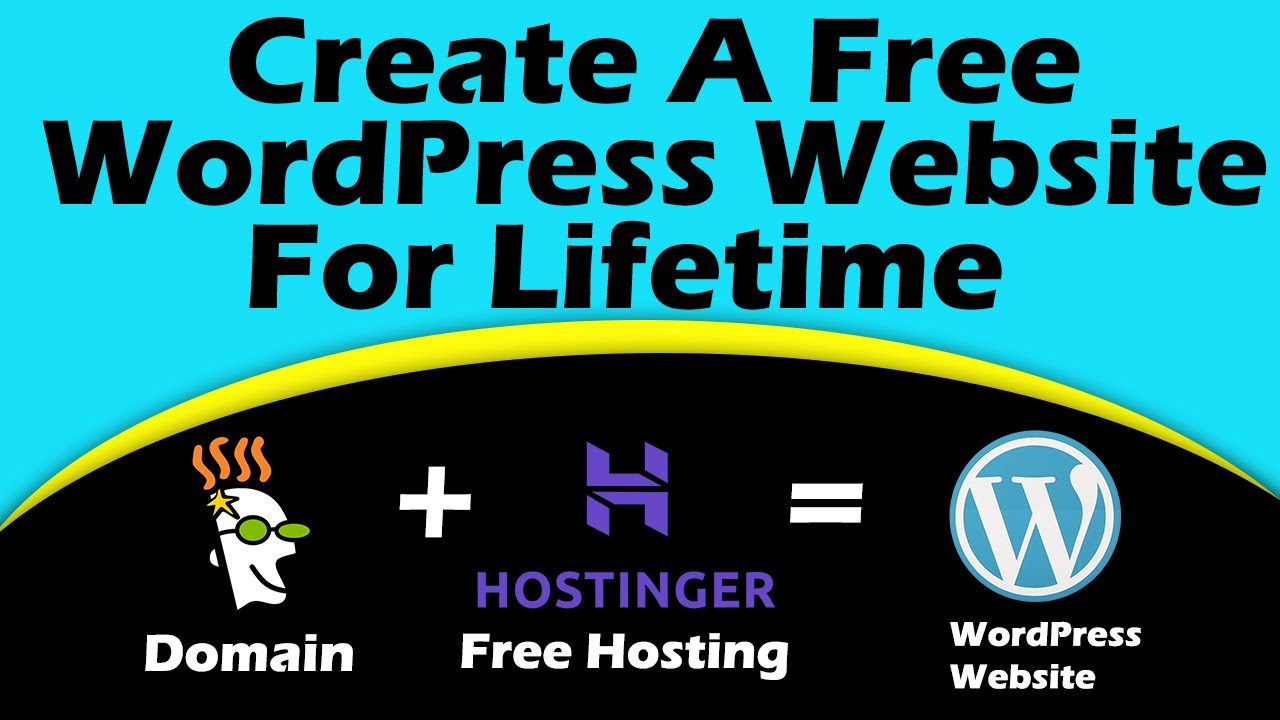
Are you looking to create a free WordPress website with free hosting in just 10 minutes? Look no further! In this step-by-step guide, I will show you how to set up your very own WordPress website using Hostinger’s free hosting plan. This means you can have a fully functional website up and running without spending a dime. Let’s dive in!
### Step 1: Sign Up for Hostinger’s Free Hosting Plan
The first thing you need to do is sign up for Hostinger’s free hosting plan. Head over to Hostinger’s website and look for the free hosting option. Click on it and follow the on-screen instructions to create your account. Once you have signed up, you will receive an email with your login details.
### Step 2: Install WordPress
After you have signed up for Hostinger’s free hosting plan, log in to your hosting account. Look for the “Auto Installer” option and click on it. From the list of available applications, select WordPress and click on the “Install” button. Follow the prompts to complete the installation process.
### Step 3: Set Up Your WordPress Website
Once WordPress is installed, you can access your website by entering your domain name in the browser. You will be prompted to set up your website by entering a title, description, and creating an admin username and password. Fill in the required information and click on the “Install WordPress” button.
### Step 4: Choose a Theme
WordPress comes with a variety of free themes that you can choose from to customize the look and feel of your website. Go to the “Themes” section in your WordPress dashboard and browse through the available themes. Once you find a theme you like, click on the “Activate” button to apply it to your website.
### Step 5: Customize Your Website
After you have chosen a theme, you can start customizing your website to make it your own. Go to the “Customize” section in your WordPress dashboard to change the colors, fonts, layout, and more. You can also add widgets, menus, and pages to further personalize your website.
### Step 6: Add Content
Now that your website is set up and customized, it’s time to add content. Create new pages for your website such as Home, About, Services, Contact, etc. You can also start writing blog posts to engage your audience and drive traffic to your website.
### Step 7: Install Essential Plugins
WordPress plugins


