Are you ready to launch your very own website but feel intimidated by the technical aspects of setting it up? Fear not! In this step-by-step tutorial, I will guide you through the process of creating a WordPress website in just 2 minutes with Bluehost, one of the most popular web hosting providers in the industry. By the end of this tutorial, you will have a fully functional website up and running, ready for you to customize and share with the world.
Why Choose Bluehost?
Before we dive into the tutorial, let’s briefly discuss why Bluehost is an excellent choice for hosting your WordPress website. Bluehost is recommended by WordPress.org and powers over 2 million websites worldwide. They offer a user-friendly interface, reliable performance, and excellent customer support, making them a top choice for beginners and experienced users alike. Additionally, Bluehost offers a one-click WordPress installation feature, making it incredibly easy to get your website up and running in no time.
Step 1: Sign Up for Bluehost
To get started, visit the Bluehost website and click on the “Get Started” button. Select a hosting plan that best suits your needs. If you are just starting out, the Basic plan is a great option. Next, choose a domain name for your website. If you already have a domain name, you can enter it in the “I have a domain name” field. If not, you can register a new domain name through Bluehost. Once you have selected your hosting plan and domain name, complete the registration process by entering your account and payment information.
Step 2: Install WordPress
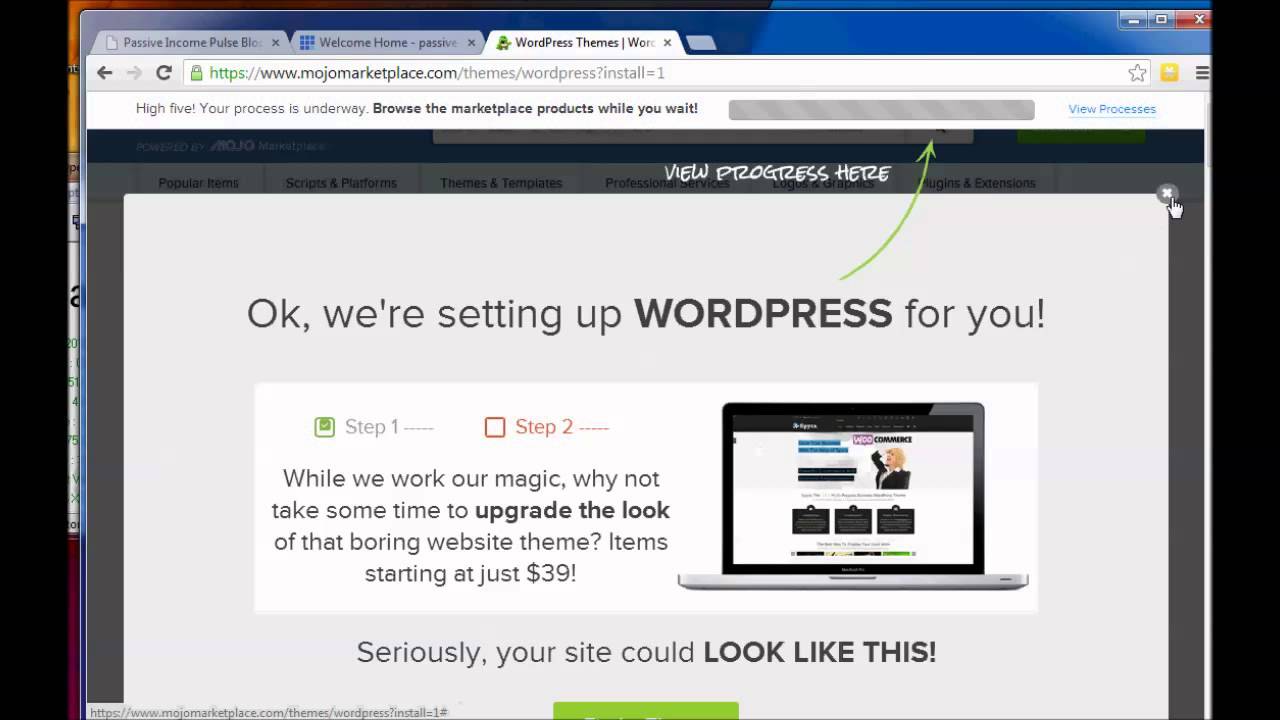
After signing up for Bluehost, you will be directed to your Bluehost account dashboard. From the dashboard, click on the “My Sites” tab and then select the “Create Site” button. Enter the name of your website and a tagline (optional). Next, choose whether you want to enable WordPress plugins and themes recommended by Bluehost. Click on the “Next” button to proceed. Bluehost will now automatically install WordPress on your hosting account.
Step 3: Customize Your Website
Once WordPress is installed, you can log in to your WordPress dashboard by visiting your domain name followed by “/wp-admin” (e.g., yourwebsite.com/wp-admin). Enter the username and password you created during the WordPress installation process. You will now have access to the WordPress dashboard, where you can customize your website by selecting a theme, adding pages and posts, and installing plugins to


