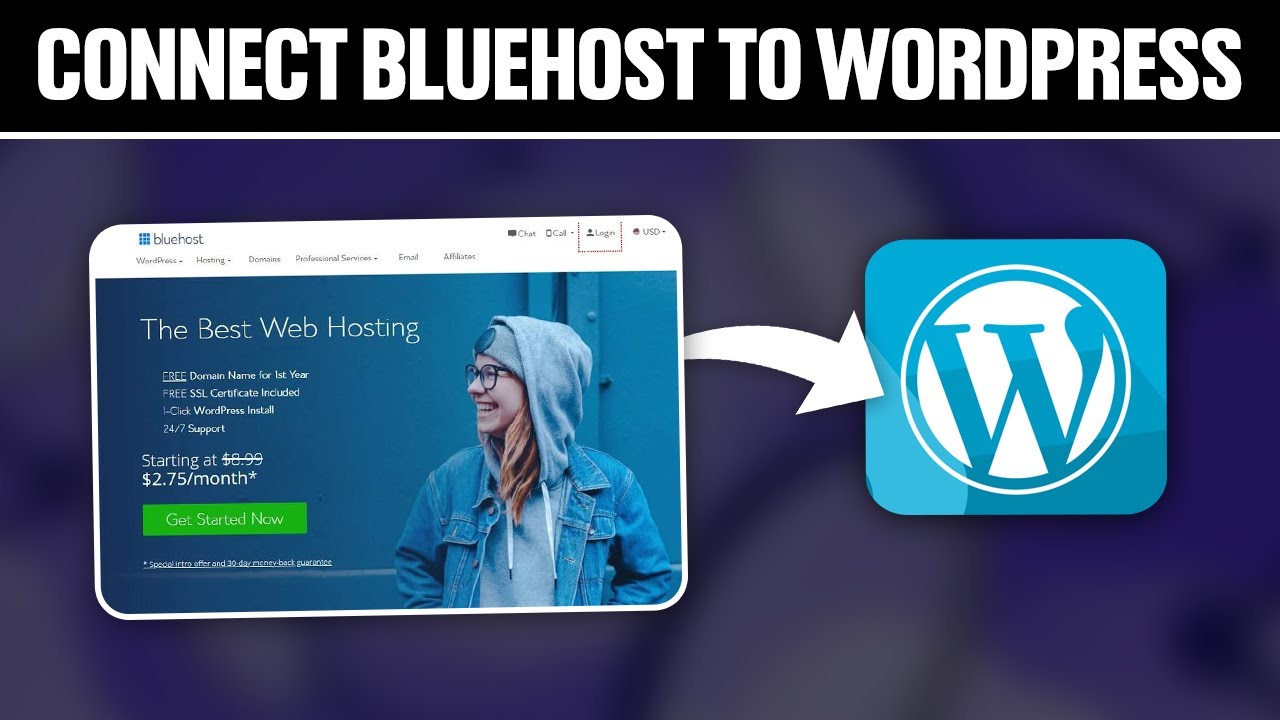
Are you looking to connect Bluehost to WordPress in 2024? You’ve come to the right place! In this full tutorial, I’ll walk you through the process step by step so you can easily set up your website and get it running smoothly.
Bluehost is one of the most popular web hosting providers out there, known for its reliability, affordability, and excellent customer support. WordPress, on the other hand, is the leading content management system (CMS) that powers over 40% of all websites on the internet. By combining Bluehost’s hosting services with WordPress’s powerful features, you can create a professional and functional website in no time.
So, let’s dive into the tutorial and get your Bluehost account connected to WordPress!
Step 1: Sign Up for Bluehost
The first step is to sign up for a Bluehost account if you haven’t already. Go to the Bluehost website and choose a hosting plan that suits your needs. Bluehost offers various plans for different types of websites, so pick the one that aligns with your requirements and budget.
Step 2: Choose a Domain Name
During the sign-up process, you’ll need to choose a domain name for your website. A domain name is your website’s address on the internet (e.g., www.yourwebsite.com). Make sure to pick a domain name that is relevant to your brand or business and easy to remember.
Step 3: Install WordPress
After signing up for Bluehost and setting up your domain name, you can easily install WordPress on your hosting account. Bluehost offers a one-click WordPress installation feature, making the process quick and straightforward. Simply log in to your Bluehost account, navigate to the control panel, and click on the “Install WordPress” button.
Step 4: Connect Bluehost to WordPress
Once WordPress is installed on your Bluehost account, you can connect the two platforms seamlessly. To do this, log in to your WordPress dashboard using the login credentials you created during the installation process. From the dashboard, go to the “Settings” tab and select “General.”
In the General Settings section, you’ll see fields for “WordPress Address (URL)” and “Site Address (URL).” Make sure these fields display your domain name correctly. If they don’t, update them with the correct URL.
Next, scroll down to the “Permalinks” section and choose a permalink structure for your website. Permalinks determine how your website’s URLs are structured


