Are you looking to start your own website but not sure where to begin? Well, you’re in the right place! In this guide, we’ll walk you through the process of buying a domain and web hosting from Hostinger, one of the most popular web hosting providers out there. We’ll also show you how to install a WordPress website, which is a user-friendly platform for building and managing your site. So, let’s get started!
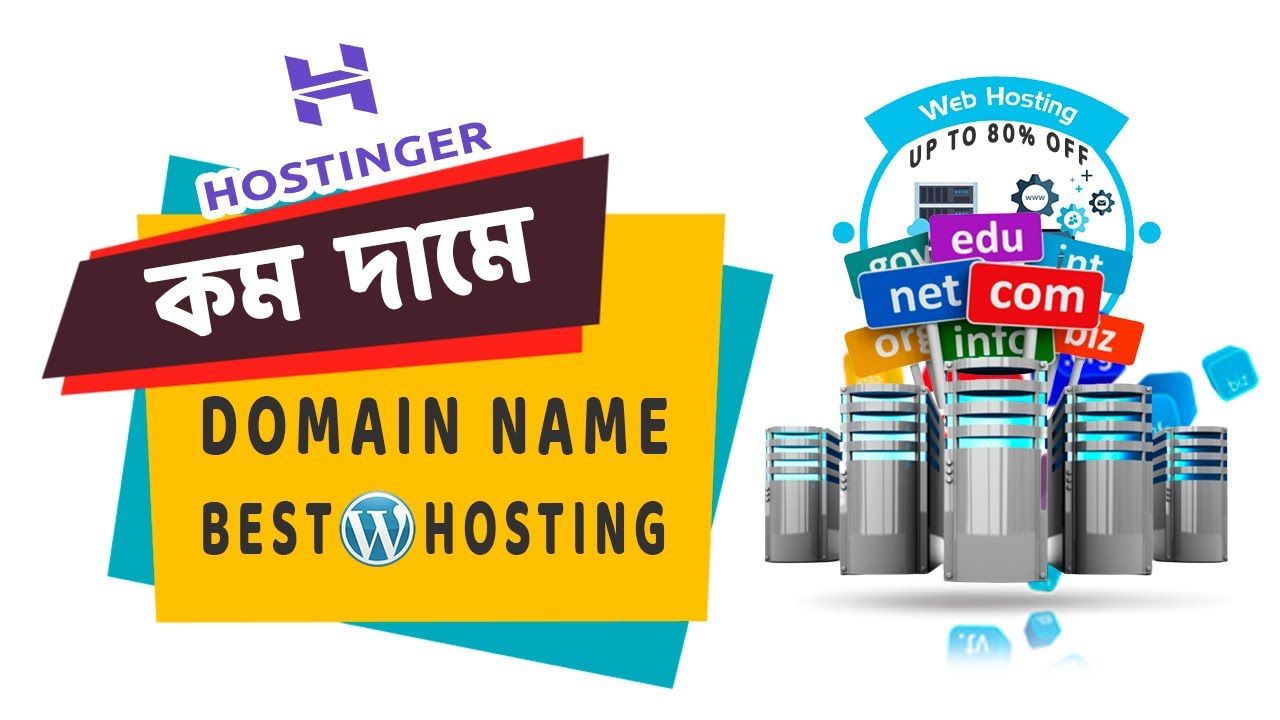
Step 1: Choose a Domain Name
The first step in creating a website is choosing a domain name. Your domain name is your website’s address on the internet, so it’s important to pick one that is relevant to your brand or business. You can use Hostinger’s domain search tool to check the availability of your desired domain name and choose from a variety of extensions like .com, .net, .org, and more.
Step 2: Select a Hosting Plan
Once you’ve chosen your domain name, it’s time to select a hosting plan. Hostinger offers a range of hosting plans to suit different needs and budgets. Whether you’re a beginner looking to start a personal blog or a business owner wanting to launch an e-commerce site, Hostinger has got you covered. You can choose from shared hosting, VPS hosting, cloud hosting, and more.
Step 3: Complete Your Purchase
After selecting your domain name and hosting plan, you can proceed to the checkout page to complete your purchase. Hostinger offers various payment options, including credit/debit cards, PayPal, and cryptocurrencies. Once you’ve made the payment, you’ll receive a confirmation email with all the details of your order.
Step 4: Install WordPress
Now that you’ve purchased your domain and hosting, it’s time to install WordPress. WordPress is a popular content management system that makes it easy to create and manage your website. Hostinger offers a one-click WordPress installation feature, so you don’t need any technical skills to get started.
To install WordPress, log in to your Hostinger account and navigate to the control panel. Look for the “Auto Installer” or “Website” section, where you’ll find the option to install WordPress. Click on the WordPress icon and follow the on-screen instructions to complete the installation process.
Step 5: Customize Your Website
Once WordPress is installed, you can start customizing your website. Choose a theme that reflects your brand identity and customize it to suit your preferences. You can also add plugins to enhance the


