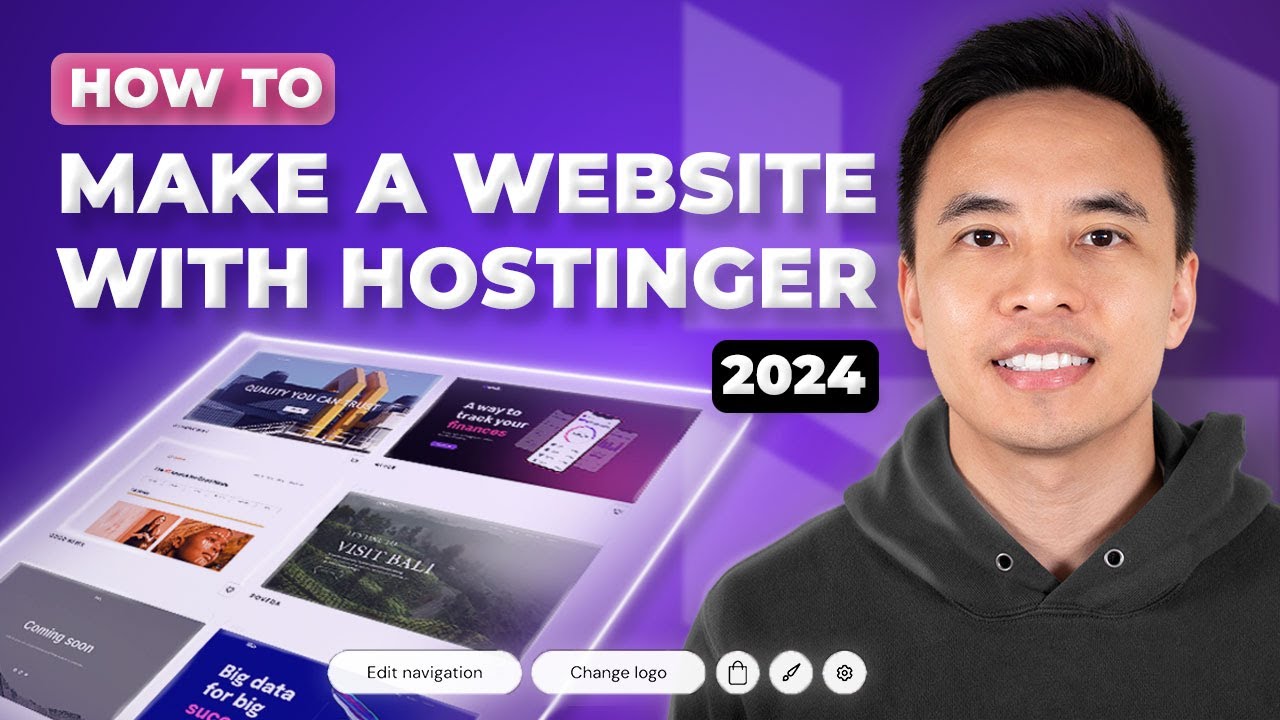
Are you looking to create a professional website, blog, or online store in 2024? Look no further than Hostinger’s Website Builder. With its user-friendly interface and powerful features, Hostinger’s Website Builder makes it easy for anyone, regardless of technical expertise, to build a stunning online presence.
In this tutorial, we will guide you through the process of creating a website, blog, or online store using Hostinger’s Website Builder. We will cover everything from choosing a template to customizing your site’s design and adding content. So, let’s get started!
Step 1: Choose a Template
The first step in creating your website is to choose a template. Hostinger offers a wide range of professionally designed templates for various industries and purposes. Whether you’re a photographer, a small business owner, or a blogger, you’ll find a template that suits your needs.
To choose a template, simply browse through the available options and select the one that catches your eye. Don’t worry if you change your mind later – you can always switch to a different template without losing any of your content.
Step 2: Customize Your Design
Once you’ve selected a template, it’s time to customize your site’s design. Hostinger’s Website Builder offers a drag-and-drop editor, which makes it incredibly easy to customize your site’s layout, colors, fonts, and more.
To start customizing your design, simply click on the elements you want to edit and use the editor’s intuitive controls to make changes. You can also add new elements, such as images, videos, and forms, to enhance your site’s functionality.
Step 3: Add Content
With your design in place, it’s time to add content to your website, blog, or online store. Hostinger’s Website Builder allows you to easily add and manage pages, blog posts, products, and more.
To add a new page, simply click on the “Pages” tab and then click on the “Add New Page” button. You can choose from a variety of page types, such as About, Contact, and Services, and customize them to fit your needs.
If you’re creating a blog, you can add new blog posts by clicking on the “Blog” tab and then clicking on the “Add New Post” button. You can write and format your blog posts using the built-in editor, and even schedule them to be published at a later date.
For those creating an online store, you can


