Are you looking to host your Internetbs.net domain on Bluehost but unsure where to start? You’re in the right place! In this tutorial, we’ll walk you through the step-by-step process of setting up your Internetbs.net domain on Bluehost. By the end of this guide, you’ll have your domain up and running smoothly on Bluehost’s reliable hosting platform.
Before we dive into the tutorial, let’s briefly discuss why Bluehost is a popular choice for hosting websites. Bluehost is one of the leading web hosting providers, known for its reliability, affordability, and excellent customer support. With Bluehost, you get a user-friendly control panel, one-click WordPress installation, free SSL certificate, and 24/7 customer support.
Now, let’s get started on hosting your Internetbs.net domain on Bluehost:
Step 1: Sign up for a Bluehost account
The first step is to sign up for a Bluehost account if you don’t already have one. Visit the Bluehost website and choose a hosting plan that suits your needs. Bluehost offers various hosting plans, including shared hosting, WordPress hosting, VPS hosting, and dedicated hosting. Select a plan and follow the on-screen instructions to create your account.
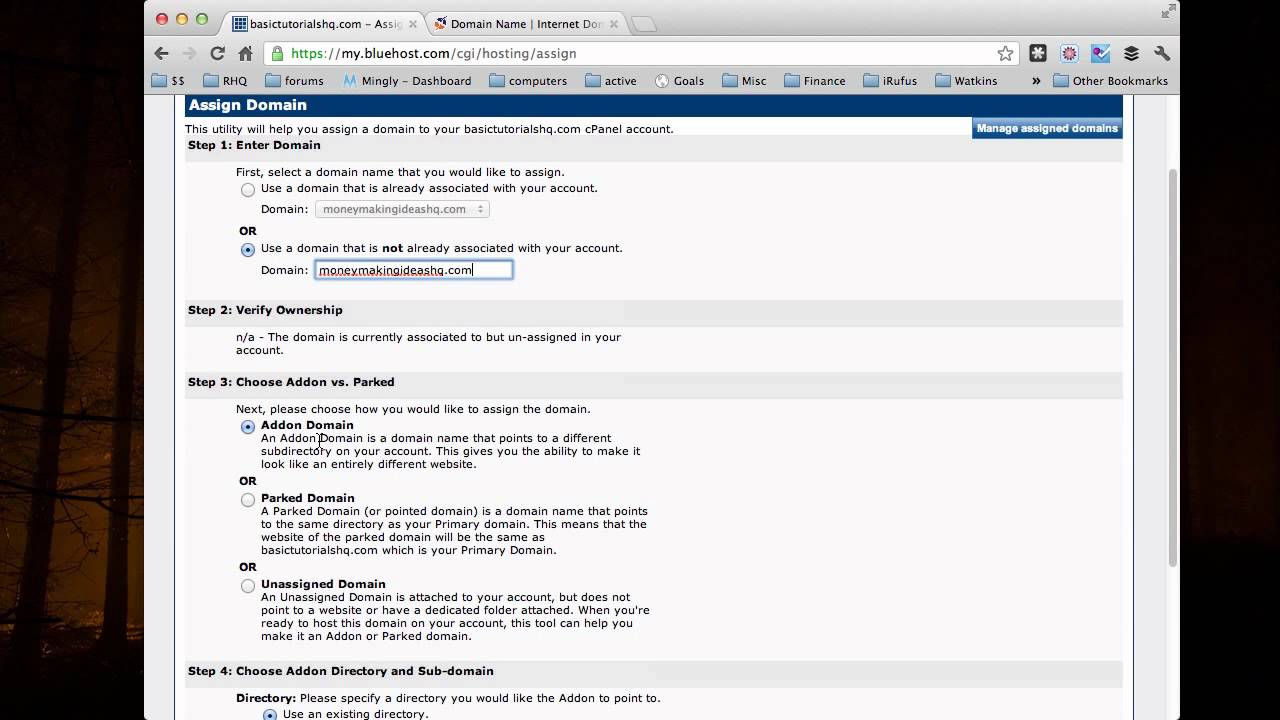
Step 2: Add your domain to Bluehost
Once you’ve signed up for a Bluehost account, you’ll need to add your Internetbs.net domain to Bluehost. Log in to your Bluehost account and navigate to the “Domains” section. Click on “Assign a domain to your cPanel account” and enter your Internetbs.net domain name. Follow the prompts to complete the domain assignment process.
Step 3: Update your domain’s nameservers
Next, you’ll need to update your domain’s nameservers to point to Bluehost. Log in to your Internetbs.net account and navigate to the domain management section. Locate your domain and update the nameservers to Bluehost’s nameservers, which are typically ns1.bluehost.com and ns2.bluehost.com. Save the changes and allow some time for the nameserver update to propagate.
Step 4: Install WordPress (optional)
If you’re planning to build your website using WordPress, Bluehost makes it easy with its one-click WordPress installation feature. Log in to your Bluehost account, navigate to the “My Sites” section, and click on “Create Site.” Follow the on-screen instructions to install WordPress on your domain.
Step 5: Set up your website


