Bluehost WordPress Tutorials: The Ultimate Guide for Beginners
Are you new to WordPress and looking for a reliable hosting provider? Look no further than Bluehost. With its user-friendly interface and excellent customer support, Bluehost is the perfect choice for beginners. But how do you get started? Don’t worry, we’ve got you covered. In this comprehensive guide, we will walk you through everything you need to know about Bluehost WordPress tutorials.
Why Choose Bluehost?
Before we dive into the tutorials, let’s first understand why Bluehost is the preferred choice for WordPress hosting. Here are some reasons why Bluehost stands out from the crowd:
1. WordPress Recommended: Bluehost is one of the few hosting providers recommended by WordPress itself. This means that they have optimized their platform specifically for WordPress, ensuring a seamless experience.
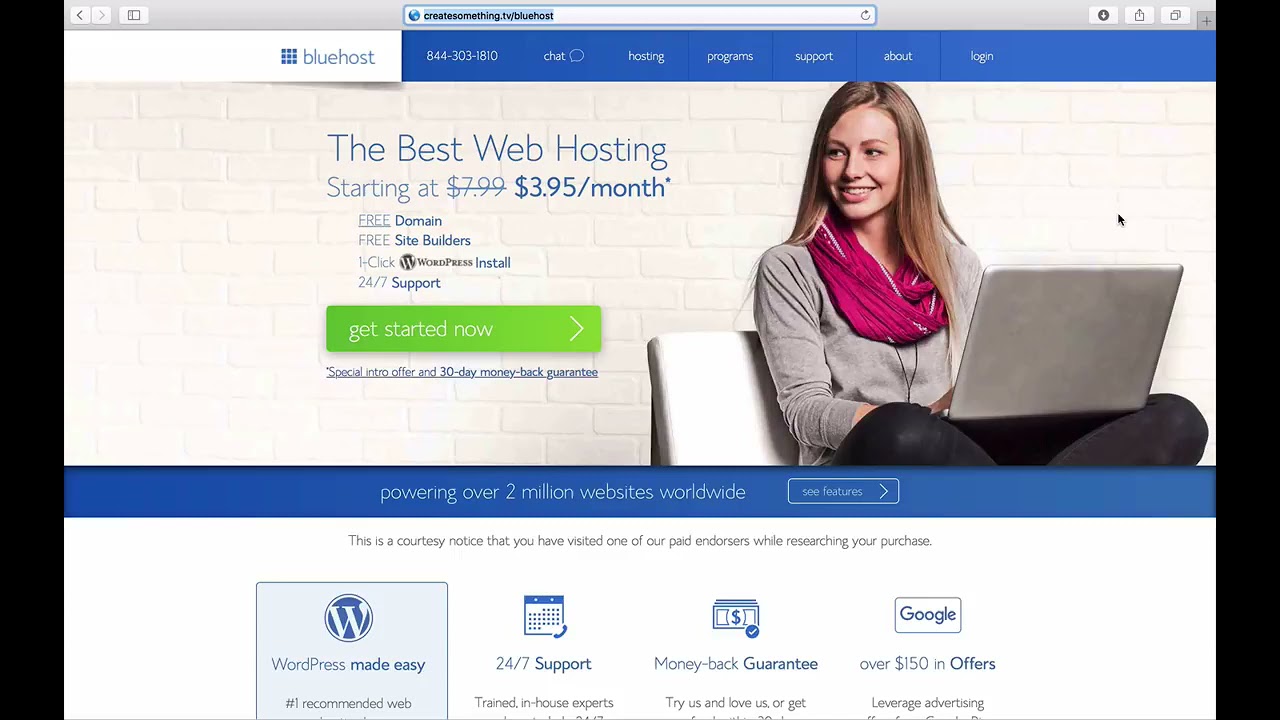
2. Easy Installation: Bluehost offers a one-click WordPress installation, making it incredibly easy for beginners to set up their websites. You don’t need any technical knowledge or coding skills to get started.
3. Excellent Performance: Bluehost boasts impressive uptime and loading speeds, ensuring that your website is always accessible and loads quickly. This is crucial for user experience and search engine rankings.
4. Reliable Customer Support: Bluehost provides 24/7 customer support via live chat, phone, and email. Their knowledgeable support team is always ready to assist you with any issues or questions you may have.
Now that you understand why Bluehost is a top choice for WordPress hosting, let’s dive into the tutorials.
Tutorial 1: Signing Up for Bluehost
The first step is to sign up for Bluehost. Visit their website and click on the “Get Started” button. Choose a hosting plan that suits your needs and budget. Bluehost offers various plans, including shared hosting, VPS hosting, and dedicated hosting. If you’re just starting out, shared hosting is the most cost-effective option.
Once you’ve selected a plan, you’ll be prompted to choose a domain name. Bluehost offers a free domain for the first year, so take advantage of this offer. If you already have a domain, you can transfer it to Bluehost.
Next, fill in your account information, choose any additional services you may need, and complete the payment process. Congratulations, you’re now a Bluehost customer!
Tutorial 2: Installing WordPress
After signing up for Bluehost, it’s time to install WordPress. Bluehost makes this process incredibly easy with its one-click installation


