Are you ready to create your own website using WordPress with Bluehost hosting? Look no further! In this step-by-step tutorial, we will guide you through the process of setting up your website with Bluehost, one of the most popular web hosting providers in the world. Whether you’re a beginner or just looking for a refresher, this guide will help you get your website up and running in no time.
Before we dive into the tutorial, let’s take a moment to understand why Bluehost is a great choice for hosting your WordPress website. Bluehost is recommended by WordPress.org and offers a one-click WordPress installation, making it easy for beginners to get started. With 24/7 customer support, a free domain name for the first year, and a 30-day money-back guarantee, Bluehost is a reliable and user-friendly option for hosting your website.
Now, let’s get started with our Bluehost WordPress tutorial for beginners:
Step 1: Sign up for Bluehost
The first step is to sign up for a Bluehost account. Visit the Bluehost website and click on the “Get Started” button. Choose a hosting plan that suits your needs, whether it’s shared hosting, VPS hosting, or dedicated hosting. Enter your desired domain name or transfer an existing domain, and complete the registration process.
Step 2: Install WordPress
After signing up for Bluehost, you can easily install WordPress with just a few clicks. Log in to your Bluehost account, go to the control panel, and click on the “One-Click Installs” button. Select WordPress from the list of available applications and follow the on-screen instructions to complete the installation process.
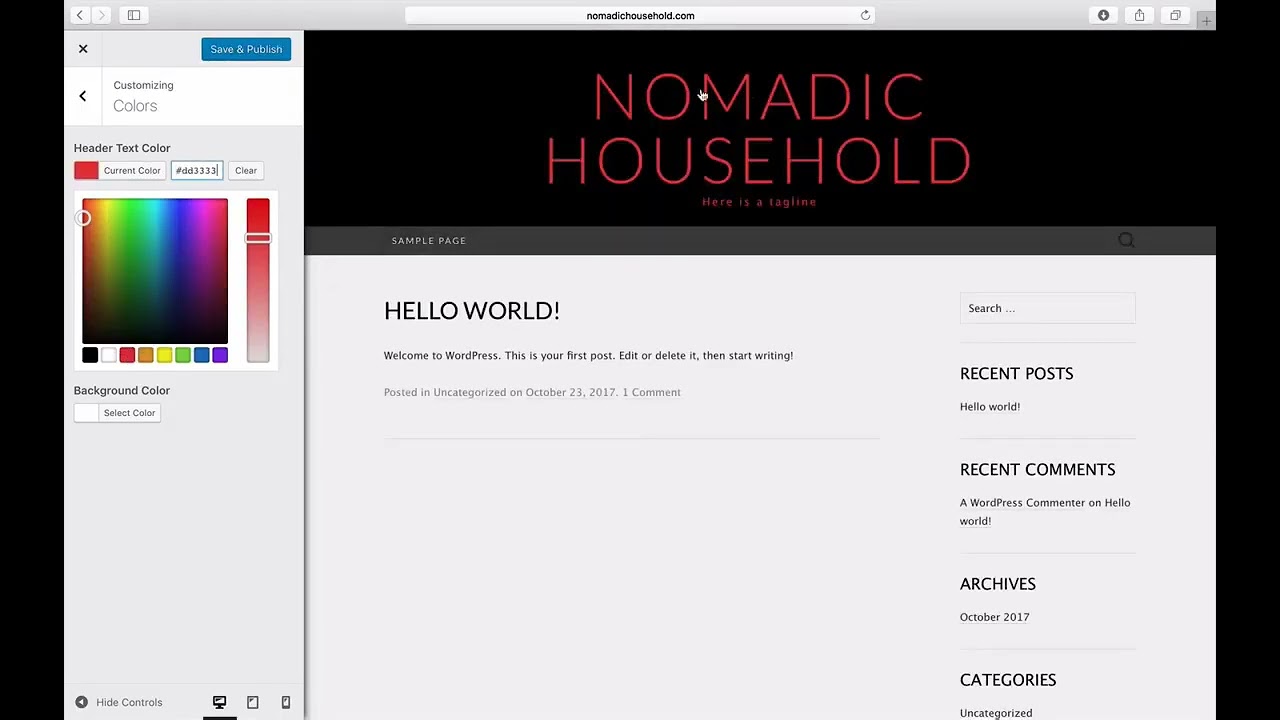
Step 3: Customize Your Website
Once WordPress is installed, you can start customizing your website. Choose a theme that reflects your brand or style, and customize the colors, fonts, and layout to create a unique look for your site. You can also add plugins to enhance the functionality of your website, such as contact forms, social media integration, and SEO tools.
Step 4: Create Your First Post
Now that your website is set up, it’s time to create your first post. Click on the “Posts” tab in the WordPress dashboard and then click on “Add New.” Enter a title for your post, write your content in the editor, and add images or videos as needed. You can also format your text, add links, and set categories and tags for your post.
Step


