Are you looking to set up email on your Bluehost WordPress website? You’ve come to the right place! In this tutorial, we’ll walk you through the process of setting up email in Bluehost. By the end of this guide, you’ll be able to send and receive emails using your custom domain.
Bluehost is a popular web hosting provider that offers a range of services, including email hosting. Setting up email in Bluehost is a straightforward process that can be completed in just a few steps. Whether you’re a small business owner, a blogger, or an online entrepreneur, having a professional email address associated with your domain can help you establish credibility and build trust with your audience.
Before we dive into the tutorial, it’s important to note that Bluehost offers two types of email hosting: Basic Email and Office 365 Email. Basic Email is included with all Bluehost hosting plans and provides you with a simple email solution. Office 365 Email, on the other hand, is a premium email service that offers additional features such as advanced security, collaboration tools, and more storage space.
Now, let’s get started with setting up email in Bluehost:
Step 1: Log in to your Bluehost account
To begin, log in to your Bluehost account using your username and password. Once you’re logged in, navigate to the “Email” section in the control panel.
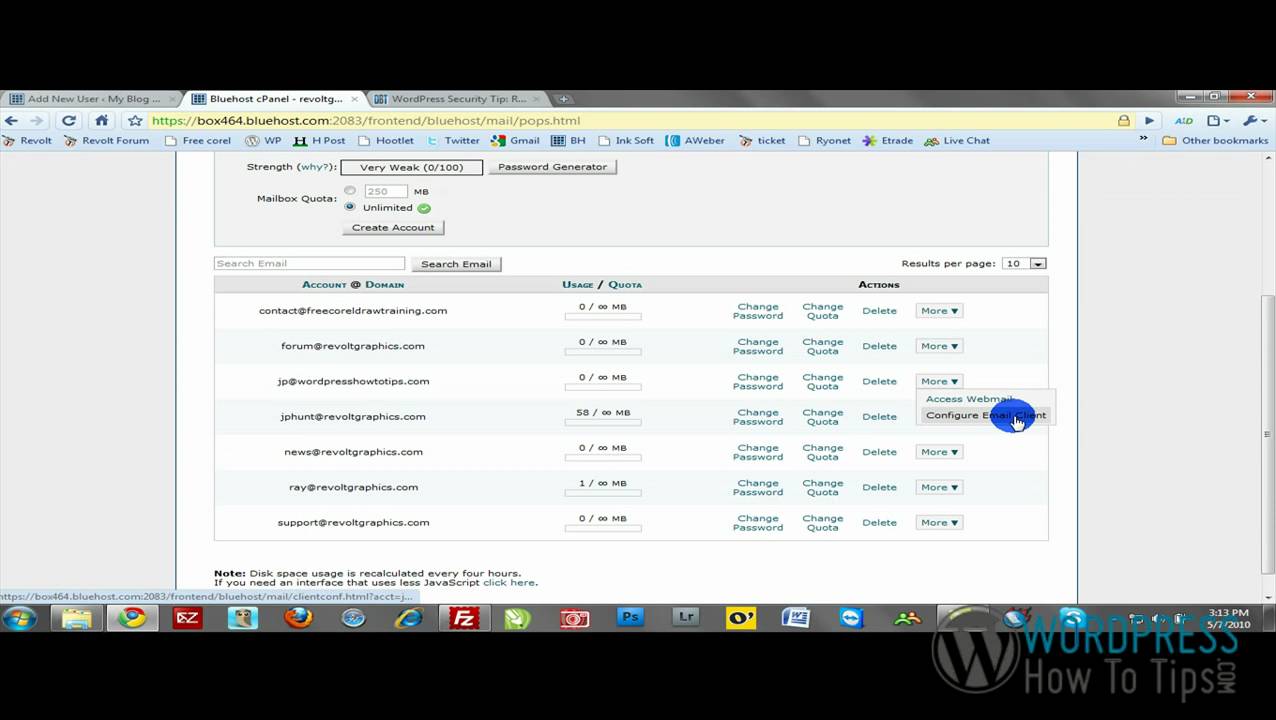
Step 2: Create a new email account
In the Email section, you’ll find an option to create a new email account. Click on this option to set up a new email address associated with your domain. You’ll need to choose a username for your email address (e.g., info@yourdomain.com) and set a password for the account.
Step 3: Configure your email client
Once you’ve created your email account, you’ll need to configure your email client to send and receive emails. Bluehost supports a variety of email clients, including Microsoft Outlook, Apple Mail, and Mozilla Thunderbird. You can find step-by-step instructions for configuring your email client on the Bluehost website.
Step 4: Access your email
Once you’ve configured your email client, you can start sending and receiving emails using your custom domain. You can access your email account through the webmail interface provided by Bluehost or through your preferred email client.
Step 5: Set up email forwarding (optional)
If you’d like to forward emails from your custom domain to another email address, you can


