Bluehost WordPress Tutorial For Beginners (2024) 👍
If you’re new to the world of website creation, you may have heard of WordPress. WordPress is a popular content management system (CMS) that allows you to build and manage websites easily. And if you’re looking for a reliable web hosting provider to pair with WordPress, Bluehost is an excellent choice. In this tutorial, we’ll guide you through the process of setting up a WordPress website with Bluehost, step by step.
Why Choose Bluehost?
Before we dive into the tutorial, let’s talk about why Bluehost is a great option for hosting your WordPress website. Bluehost is officially recommended by WordPress itself, which speaks volumes about its reliability and performance. It offers a range of hosting plans to suit different needs, from shared hosting for beginners to dedicated hosting for high-traffic websites.
Bluehost also provides a simple one-click WordPress installation process, making it easy for beginners to get started. Additionally, it offers 24/7 customer support, a free SSL certificate, and a 30-day money-back guarantee. With all these features, Bluehost ensures that you have a smooth and hassle-free experience when setting up your WordPress website.
Step 1: Sign Up for Bluehost
To begin, visit the Bluehost website and click on the “Get Started” button. You’ll be presented with different hosting plans to choose from. If you’re just starting out, the Basic plan should be sufficient. Click on the “Select” button to proceed.
Next, you’ll be prompted to choose a domain name for your website. If you already have a domain name, you can enter it in the “Use a domain you own” section. Otherwise, you can register a new domain name with Bluehost. Make sure to choose a domain name that reflects your website’s purpose and is easy to remember.
Step 2: Complete the Registration Process
After selecting your domain name, you’ll need to fill in your account information, package information, and payment details. Bluehost offers various add-ons like domain privacy and site backup, but these are optional. You can choose to add them if you think they’re necessary for your website.
Once you’ve filled in all the required information, review your order details and click on the “Submit” button to complete the registration process. You’ll receive a confirmation email with your account details shortly after.
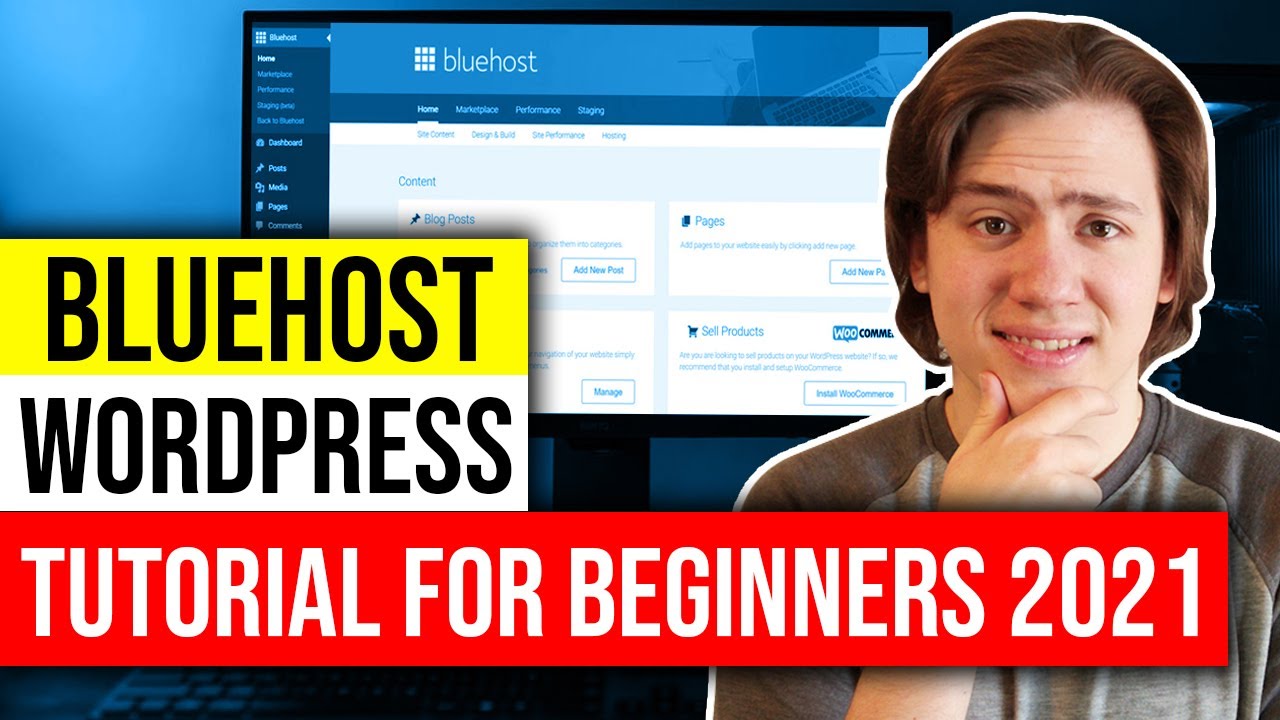
Step 3: Install WordPress
After signing up for Bluehost, you’ll need


