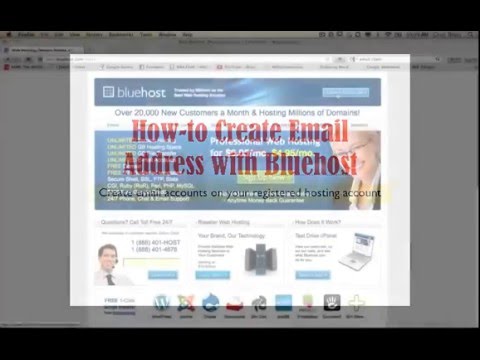
Are you looking to set up email accounts with Bluehost? You’ve come to the right place! In this tutorial, we will guide you through the process of creating and managing email accounts on Bluehost, one of the most popular web hosting services available.
Bluehost offers a user-friendly interface that makes it easy for even beginners to set up email accounts for their domain. Whether you’re a small business owner, a blogger, or an individual looking to create a professional email address, Bluehost has got you covered.
Before we dive into the tutorial, let’s take a quick look at why having a custom email address is important. A custom email address not only looks more professional than a generic email address like @gmail.com or @yahoo.com, but it also helps build trust with your customers and clients. Additionally, having a custom email address that matches your domain name can help improve brand recognition and credibility.
Now, let’s get started with the step-by-step guide on how to set up email accounts with Bluehost:
Step 1: Log in to your Bluehost account
To begin, log in to your Bluehost account using your username and password. Once you’re logged in, you’ll be taken to the Bluehost dashboard, where you can manage all aspects of your hosting account.
Step 2: Navigate to the Email section
In the Bluehost dashboard, navigate to the Email section, where you’ll find all the tools and settings related to email accounts. Click on the Email section to proceed.
Step 3: Create a new email account
To create a new email account, click on the “Create” button or the “Add Email Account” option. You will be prompted to enter the details for your new email account, including the username, password, and storage quota.
Step 4: Configure email settings
Once you’ve entered the necessary details for your new email account, you can configure additional settings such as mailbox storage, email forwarding, autoresponders, and spam filters. Take some time to customize these settings according to your preferences.
Step 5: Access your email account
After setting up your email account, you can access it through the Bluehost webmail interface or configure it with an email client like Outlook, Thunderbird, or Apple Mail. Bluehost provides detailed instructions on how to set up your email account on various email clients.
Step 6: Manage your email accounts
In the Bluehost dashboard, you can easily manage all your email accounts,


