Are you looking to move your website to a new hosting provider but feeling overwhelmed by the process? Don’t worry, I’ve got you covered with this step-by-step Bluehost tutorial on how to move a site to a new host using cPanel. By the end of this guide, you’ll be equipped with the knowledge and confidence to seamlessly transfer your website to a new hosting provider without any hassle.
Why Move Your Site to a New Host?
There could be various reasons why you might want to move your website to a new host. Perhaps your current host is not meeting your performance expectations, or maybe you’ve found a better deal with another hosting provider. Whatever the reason may be, it’s essential to ensure a smooth transition to avoid any downtime or loss of data during the migration process.
Before you begin the migration process, it’s crucial to back up your website files and databases to prevent any data loss. Most hosting providers offer tools and services to help you with the backup process, so make sure to take advantage of these resources before proceeding with the migration.
Step 1: Sign Up with a New Hosting Provider
The first step in moving your site to a new host is to sign up with a new hosting provider. Bluehost is a popular choice for many website owners due to its reliability, affordability, and user-friendly interface. To get started, visit the Bluehost website and select a hosting plan that best suits your needs.
Step 2: Transfer Your Domain
If you’re transferring your domain to Bluehost as well, you’ll need to update your domain’s nameservers to point to your new hosting provider. You can do this by logging into your domain registrar’s account and updating the nameservers with the ones provided by Bluehost.
Step 3: Backup Your Website Files and Databases
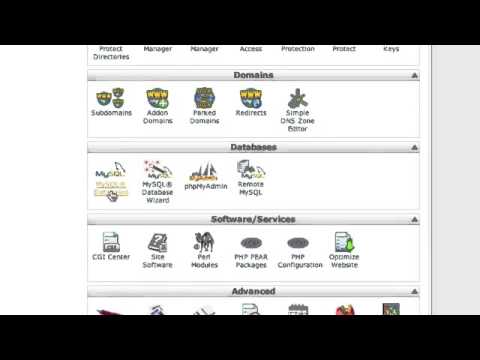
Before you initiate the migration process, it’s crucial to back up your website files and databases to ensure that you have a copy of all your data in case anything goes wrong during the transfer. You can use cPanel’s backup tools to create a full backup of your website files and databases.
Step 4: Upload Your Website Files to Bluehost
Once you’ve backed up your website files and databases, it’s time to upload them to your new Bluehost account. You can do this by accessing cPanel and using the File Manager tool to upload your files. Make sure to upload all your website files to the public_html directory to ensure that your website displays correctly on the new host.


