Are you ready to launch your website on Bluehost but feeling a bit overwhelmed with where to start? Don’t worry, I’ve got you covered! In this step-by-step Bluehost tutorial, I’ll walk you through the process of setting up your website on one of the most popular web hosting platforms out there. By the end of this tutorial, you’ll have your website up and running smoothly on Bluehost.
Before we dive in, let’s quickly go over why Bluehost is a great choice for hosting your website. Bluehost is known for its reliability, affordability, and excellent customer support. They offer a wide range of hosting plans to suit different needs, whether you’re a small business owner, a blogger, or an e-commerce entrepreneur. Plus, Bluehost is officially recommended by WordPress, making it a top choice for WordPress users.
Now, let’s get started on launching your website on Bluehost:
Step 1: Sign Up for Bluehost
The first step is to sign up for a Bluehost account. Head over to the Bluehost website and click on the “Get Started” button. Choose a hosting plan that best fits your needs – whether it’s shared hosting, VPS hosting, or dedicated hosting. Don’t worry if you’re not sure which plan to choose, you can always upgrade later on.
Step 2: Choose a Domain Name
Next, you’ll need to choose a domain name for your website. If you already have a domain name, you can transfer it to Bluehost. If not, you can register a new domain name through Bluehost. Make sure to choose a domain name that is easy to remember and reflects your brand or business.
Step 3: Set Up Your Bluehost Account
After selecting your hosting plan and domain name, you’ll need to create your Bluehost account. Enter your personal information, choose your hosting package, and add any extras you may need, such as domain privacy protection or SiteLock security.
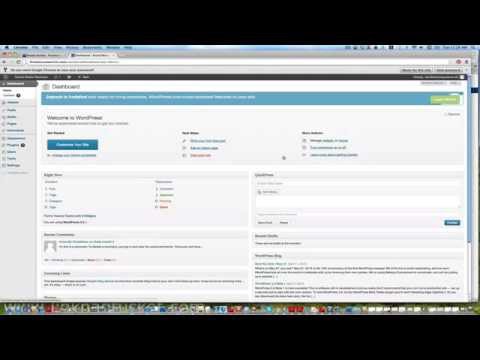
Step 4: Install WordPress
Bluehost makes it easy to install WordPress with just a few clicks. Once you’ve set up your account, log in to your Bluehost control panel (cPanel) and find the “One-Click Installs” section. Click on the WordPress icon and follow the prompts to install WordPress on your domain.
Step 5: Customize Your Website
Now that WordPress is installed, it’s time to customize your website. Choose a theme that fits your brand and customize it to your


