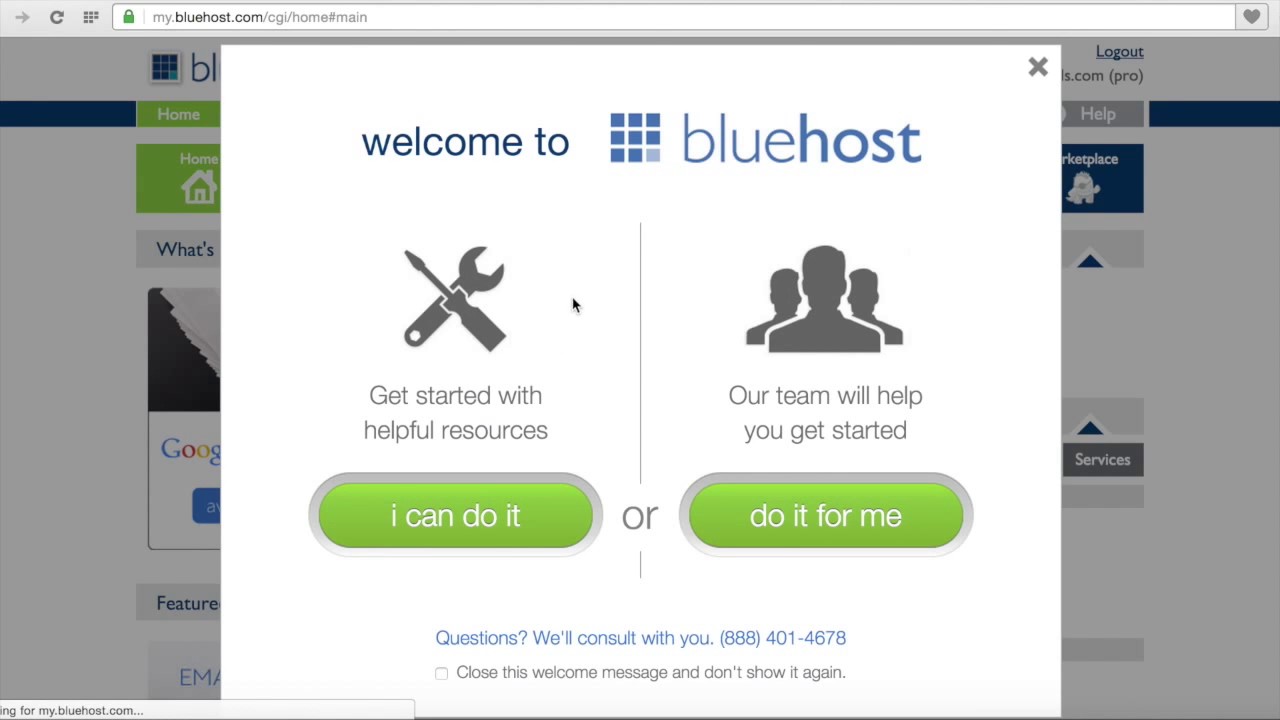
Bluehost Tutorial: How To Create A MySQL Database And Table
Are you looking to create a MySQL database and table on your Bluehost website? Whether you are a beginner or have some experience with web hosting, setting up a database is an essential skill to have. In this step-by-step tutorial, we will guide you through the process of creating a MySQL database and table on Bluehost.
What is MySQL?
MySQL is an open-source relational database management system that is commonly used for web applications. It allows you to store and manage data efficiently, making it a popular choice for websites that require dynamic content.
Bluehost is a web hosting company that offers MySQL databases as part of its hosting packages. By creating a MySQL database and table on Bluehost, you can store and retrieve data for your website or web application.
Step 1: Log in to your Bluehost account
To get started, log in to your Bluehost account using your username and password. Once you are logged in, you will be taken to the cPanel (Control Panel) dashboard, where you can manage all aspects of your hosting account.
Step 2: Navigate to the MySQL Databases section
In the cPanel dashboard, scroll down to the Databases section and click on the “MySQL Databases” icon. This will take you to the MySQL Databases page, where you can create and manage your databases.
Step 3: Create a new MySQL database
To create a new MySQL database, enter a name for your database in the “Create New Database” field. Choose a name that is descriptive and easy to remember, as you will need it to connect to your database later.
After entering the database name, click the “Create Database” button. Your new database will be created, and you will see a confirmation message on the screen.
Step 4: Create a new database user
Next, scroll down to the MySQL Users section on the MySQL Databases page. Enter a username and password for your new database user in the “Add New User” section. Make sure to choose a strong password to secure your database.
After entering the username and password, click the “Create User” button. Your new database user will be created, and you will see a confirmation message on the screen.
Step 5: Add the user to the database
To connect the database user to the database, scroll down to the Add User to Database section on the MySQL Databases page. Select the database user and database from


