Bluehost Tutorial: How To Create A MySQL Database And Table
If you’re a website owner or developer, chances are you’ve heard of Bluehost. As one of the most popular web hosting providers, Bluehost offers a wide range of features and services to help you build and manage your website. One of the key features Bluehost offers is the ability to create and manage MySQL databases. In this tutorial, we will guide you through the process of creating a MySQL database and table on Bluehost.
Before we dive into the tutorial, let’s first understand what MySQL is and why it is important for your website. MySQL is an open-source relational database management system that is widely used for web applications. It allows you to store, organize, and retrieve data efficiently. Whether you’re running a blog, an e-commerce site, or a content management system, chances are you’ll need a database to store and manage your data. MySQL is a popular choice for many website owners and developers due to its reliability, scalability, and ease of use.
Now, let’s get started with creating a MySQL database on Bluehost. Follow the step-by-step instructions below:
Step 1: Log in to your Bluehost account
To create a MySQL database, you’ll need to log in to your Bluehost account. Once you’re logged in, you’ll be taken to the Bluehost dashboard.
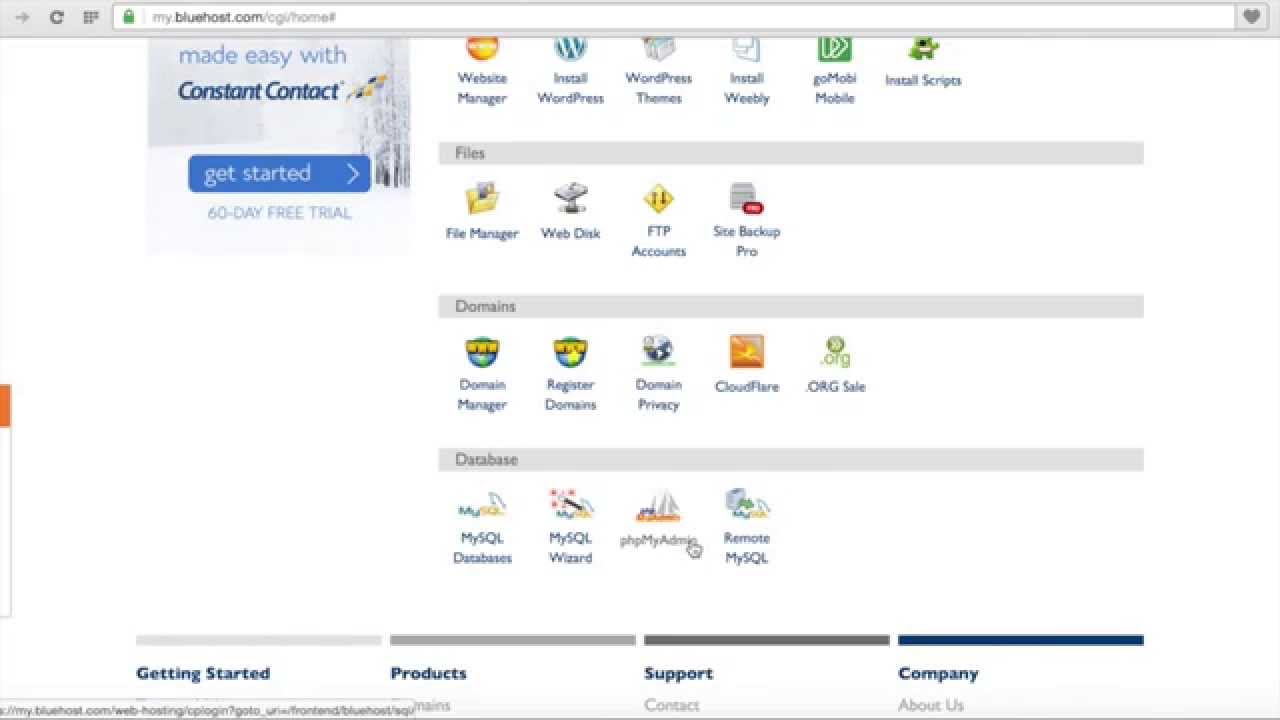
Step 2: Navigate to the MySQL Databases section
In the Bluehost dashboard, locate the “Databases” section and click on “MySQL Databases”. This will take you to the MySQL Databases page where you can manage your databases.
Step 3: Create a new database
On the MySQL Databases page, scroll down to the “Create New Database” section. Enter a name for your database in the “New Database” field. Make sure to choose a name that is descriptive and easy to remember. Click on the “Create Database” button to create your new database.
Step 4: Create a database user
After creating the database, scroll down to the “MySQL Users” section. Enter a username and password for your database user in the respective fields. Make sure to choose a strong password to enhance the security of your database. Click on the “Create User” button to create your database user.
Step 5: Assign user privileges to the database
Once you’ve created the database user, scroll down to the “Add User to Database” section. Select the database user you created


