Are you ready to set up your very own website with Bluehost but feeling a bit overwhelmed by the process? Don’t worry, I’ve got you covered! In this step-by-step tutorial, I’ll walk you through the basic set-up process to get your website up and running in no time.
Bluehost is one of the most popular web hosting providers out there, known for its user-friendly interface and excellent customer support. Whether you’re starting a blog, an online store, or a business website, Bluehost has everything you need to get started.
Step 1: Sign Up for Bluehost
The first step is to sign up for a Bluehost account. Head over to the Bluehost website and click on the “Get Started” button. Choose a hosting plan that best suits your needs – whether you’re just starting out or looking for more advanced features.
Step 2: Choose a Domain Name
Next, you’ll need to choose a domain name for your website. Your domain name is your online address, so make sure it’s easy to remember and relevant to your brand. You can either register a new domain through Bluehost or use an existing one if you already have one.
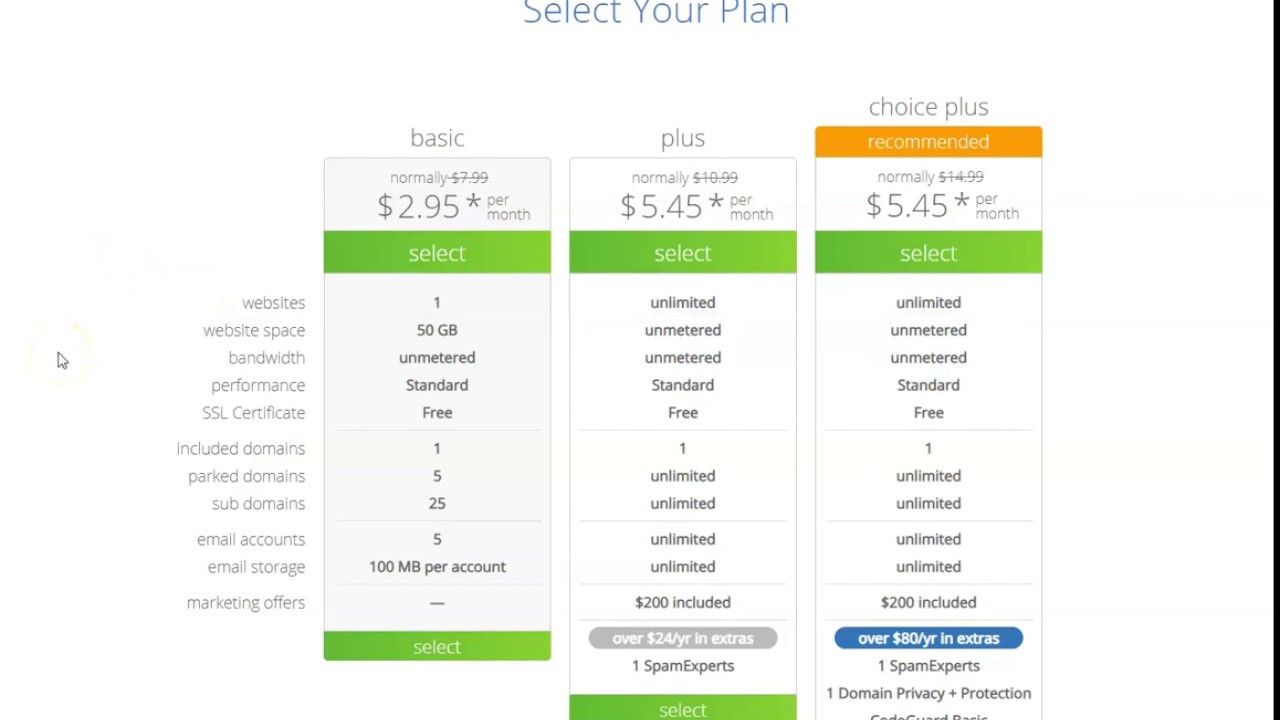
Step 3: Set Up Your Hosting Account
Once you’ve selected your domain name, you’ll need to fill in your account information and choose your hosting package. Bluehost offers different hosting plans, so pick the one that aligns with your website’s needs and budget.
Step 4: Install WordPress
Bluehost makes it easy to set up your website with WordPress, the most popular content management system in the world. Once you’ve completed your account setup, you can install WordPress with just a few clicks. This will be the platform where you’ll create and manage your website’s content.
Step 5: Customize Your Website
Now that WordPress is installed, it’s time to customize your website. Choose a theme that reflects your brand and customize it to your liking. You can add pages, posts, images, and other content to make your website unique and engaging.
Step 6: Install Essential Plugins
Plugins are like apps for your website, adding functionality and features to enhance its performance. Some essential plugins to consider installing include Yoast SEO for optimizing your site for search engines, Akismet for spam protection, and WP Super Cache for improving site speed.
Step 7: Create Essential Pages
Every website needs some essential pages to provide information to visitors. Make sure to create pages such as


