Are you looking to create a website using WordPress in 2021? If so, you’re in the right place! In this Bluehost WordPress tutorial, we will walk you through the process of setting up a WordPress website with Bluehost, one of the most popular web hosting providers in the industry.
Bluehost is recommended by WordPress.org as one of the best hosting providers for WordPress websites. It offers a one-click WordPress installation, making it easy for beginners to get started with their website. In addition to hosting services, Bluehost also provides excellent customer support and a range of features to help you build and manage your website effectively.
Before we dive into the tutorial, let’s take a moment to understand why WordPress and Bluehost make a great combination for creating a website.
Why Choose WordPress and Bluehost?
WordPress is a powerful and user-friendly content management system (CMS) that powers over 40% of websites on the internet. It offers a wide range of themes and plugins that allow you to customize your website to suit your needs. Whether you’re building a blog, an online store, a portfolio, or a business website, WordPress has got you covered.
Bluehost, on the other hand, is a reliable web hosting provider that offers affordable hosting plans with excellent performance and security features. With Bluehost, you can get your website up and running quickly and easily, without any technical knowledge required.
Now, let’s get started with our Bluehost WordPress tutorial:
Step 1: Sign Up for Bluehost
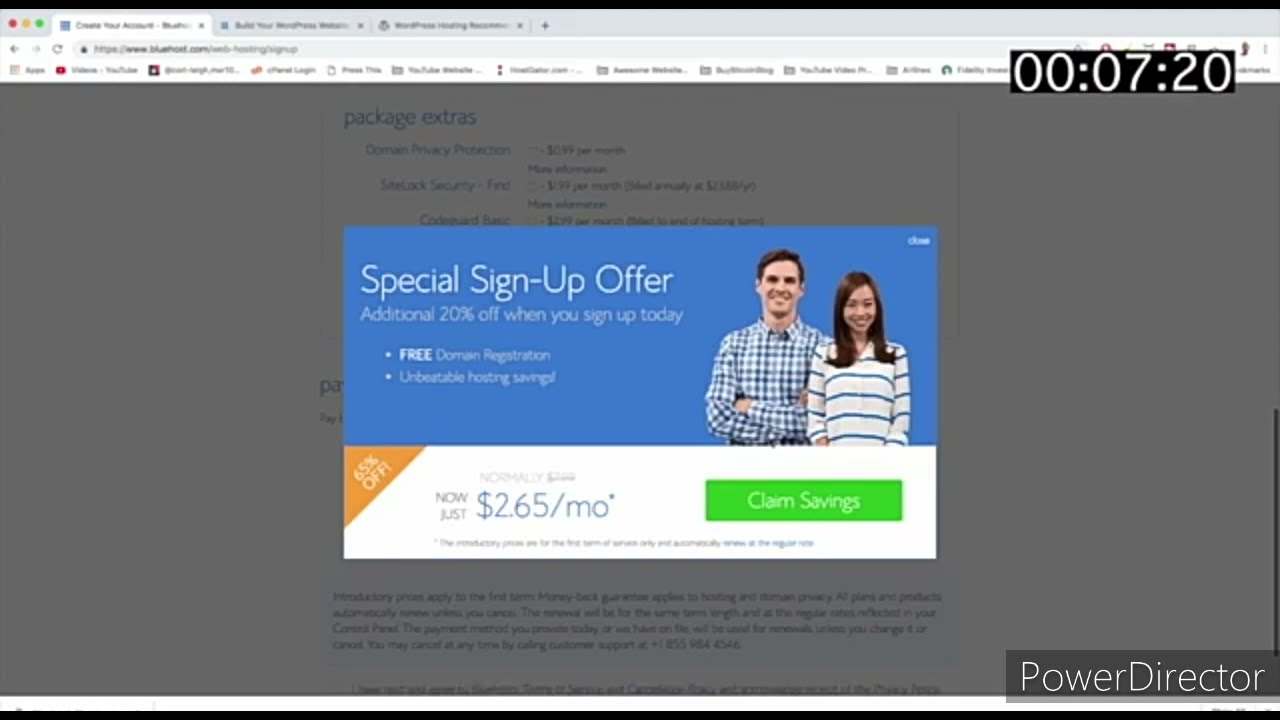
The first step is to sign up for a hosting account with Bluehost. Visit the Bluehost website and choose a hosting plan that suits your needs. Bluehost offers shared hosting, WordPress hosting, VPS hosting, and dedicated hosting plans. For beginners, we recommend starting with the shared hosting plan, which is affordable and easy to set up.
Step 2: Choose a Domain Name
Next, you’ll need to choose a domain name for your website. A domain name is the web address that people will use to access your site (e.g., www.yourwebsite.com). You can either register a new domain name through Bluehost or use an existing domain name that you already own.
Step 3: Install WordPress
Once you’ve signed up for a hosting account and chosen a domain name, it’s time to install WordPress. Bluehost offers a one-click WordPress installation, which makes the process quick and straightforward. Log in to your Bluehost account, go to the control


