Are you looking to create a website or blog using WordPress on Bluehost? You’re in the right place! In this comprehensive tutorial, we will guide you through the process step by step, making it easy for you to get your site up and running in no time.
Bluehost is one of the most popular web hosting providers in the world, known for its reliability, affordability, and user-friendly interface. WordPress, on the other hand, is the most widely used content management system (CMS) that powers millions of websites on the internet. By combining Bluehost’s hosting services with WordPress’s powerful features, you can create a professional-looking website or blog with ease.
So, let’s dive into the tutorial and get started on building your online presence!
Step 1: Sign Up for Bluehost
The first step in creating a website or blog on Bluehost is to sign up for a hosting account. Visit the Bluehost website and click on the “Get Started” button. Select a hosting plan that suits your needs and budget. Bluehost offers various plans, including shared hosting, VPS hosting, and dedicated hosting. For beginners, shared hosting is usually the best option.
Step 2: Choose a Domain Name
After selecting a hosting plan, you will be prompted to choose a domain name for your website. Your domain name is your website’s address on the internet (e.g., www.yourwebsite.com). Choose a domain name that is relevant to your website’s content and easy to remember. If you already have a domain name, you can transfer it to Bluehost or use it with your new hosting account.
Step 3: Complete the Registration Process
Once you have chosen a domain name, you will need to complete the registration process by entering your personal and payment information. Bluehost offers various add-ons, such as domain privacy protection and site backup, which you can choose to add to your hosting plan for an additional fee.
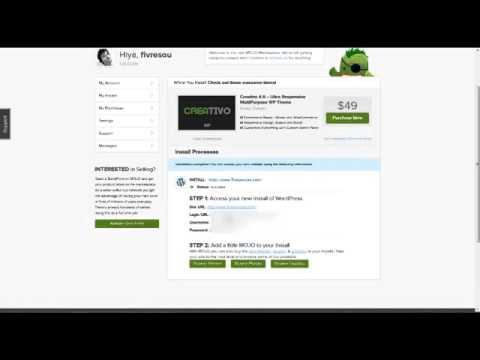
Step 4: Install WordPress
After completing the registration process, you will receive a confirmation email with login details to your Bluehost account. Log in to your Bluehost account and navigate to the control panel (cPanel). Look for the “WordPress” icon under the “Website Builders” section and click on it. Follow the on-screen instructions to install WordPress on your domain.
Step 5: Customize Your Website
Once WordPress is installed, you can log in to the WordPress dashboard using the login credentials you set during the installation process. From the


