Are you looking to add your DNS entries in Hostinger but not sure where to start? Don’t worry, I’ve got you covered! In this guide, I’ll walk you through the step-by-step process of adding DNS entries in Hostinger so you can get your website up and running smoothly.
Before we dive into the steps, let’s first understand what DNS (Domain Name System) is and why it’s important. DNS is like the phonebook of the internet that translates domain names into IP addresses, allowing users to access websites using easy-to-remember domain names instead of complex numerical IP addresses.
Now, let’s get started with adding your DNS entries in Hostinger:
Step 1: Log in to your Hostinger account
The first step is to log in to your Hostinger account. Once you’re logged in, you’ll be directed to the dashboard where you can manage your hosting services.
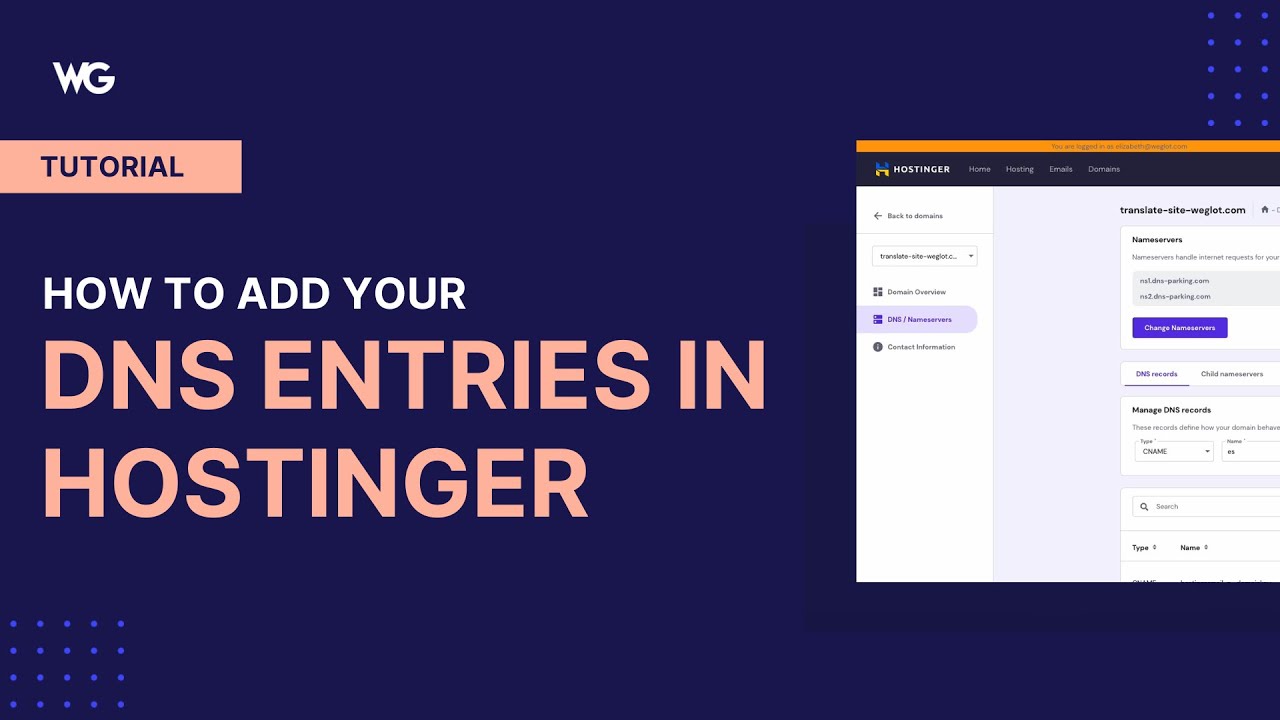
Step 2: Access the DNS Zone Editor
In the dashboard, look for the “Domains” section and click on “DNS Zone Editor.” This is where you can manage your DNS records for your domain.
Step 3: Add a new DNS entry
To add a new DNS entry, click on the “Add New Record” button. You’ll be prompted to select the type of DNS record you want to add, such as A, CNAME, MX, TXT, etc. Choose the appropriate type based on your requirements.
Step 4: Enter the DNS details
Once you’ve selected the type of DNS record, you’ll need to enter the relevant details such as the hostname, value, and TTL (Time to Live). The hostname is the subdomain or domain name you want to point to, the value is the destination IP address or domain, and TTL determines how long the DNS information will be cached.
Step 5: Save the DNS entry
After entering the DNS details, click on the “Save” or “Add Record” button to save the DNS entry. Make sure to double-check the information before saving to avoid any errors.
Step 6: Verify the DNS entry
Once you’ve added the DNS entry, it may take some time for the changes to propagate across the internet. You can use online DNS lookup tools to verify if the DNS entry has been successfully added and propagated.
And that’s it! You’ve successfully added your DNS entries in Hostinger. Remember that DNS changes can take some time to reflect globally, so be patient if you don’t


